

📙 #050 - Kaleidoscopic Workflow

At last, I’ve got my act together enough to post the third part of this little pen plotting adventure from newsletters #047 and #048 - with some online code, which I’ll link in just a moment.
First things first, a disclaimer…
# DISCLAIMER
All of this code was written to be run off my laptop for my own use, some parts, including the UI are pretty gnarly, I’m just going to try and explain the bits needed for what I’m talking about here, but there’s a whole bunch of scary code which I often successfully either hang or crash my browser with 😅 It’s not really supposed to be public, but here we are!
There’s two bits to this page: https://revdancatt.com/newsletter-plots-one/

The “Sketches” of which there’s only one, and the “Tools”, which we’ll bounce between in a moment.
The most important thing here is the Tools only work with the output of the Sketches; they aren’t universal SVG mangling tools. The SVGs the Sketches write is formatted in a very specific way, and the tools expect to read that very specific format.
I guess a second thing is that everything happens in your browser, nothing is sent to the server, if that kinda thing concerns you. Normally I just open the .html files and work that way.
Finally, desk/laptop only, no phones, and I’ve only tested this on Chrome 👍
#1. Pop-ish
We covered this in 🎃 #047 - No such thing as too much yellow, and settings wise to make life slightly easier when you click the ‘Pop-ish’ from Sketches, it starts with some reasonable (A3) defaults.
Pop-ish with reasonable defaults.
The designs are randomised (hit the tiny “redraw” button UI thing to get new designs), sometimes changing settings will update the output & sometimes they won’t so always handy to know about the “redraw” button. My output looked like this…
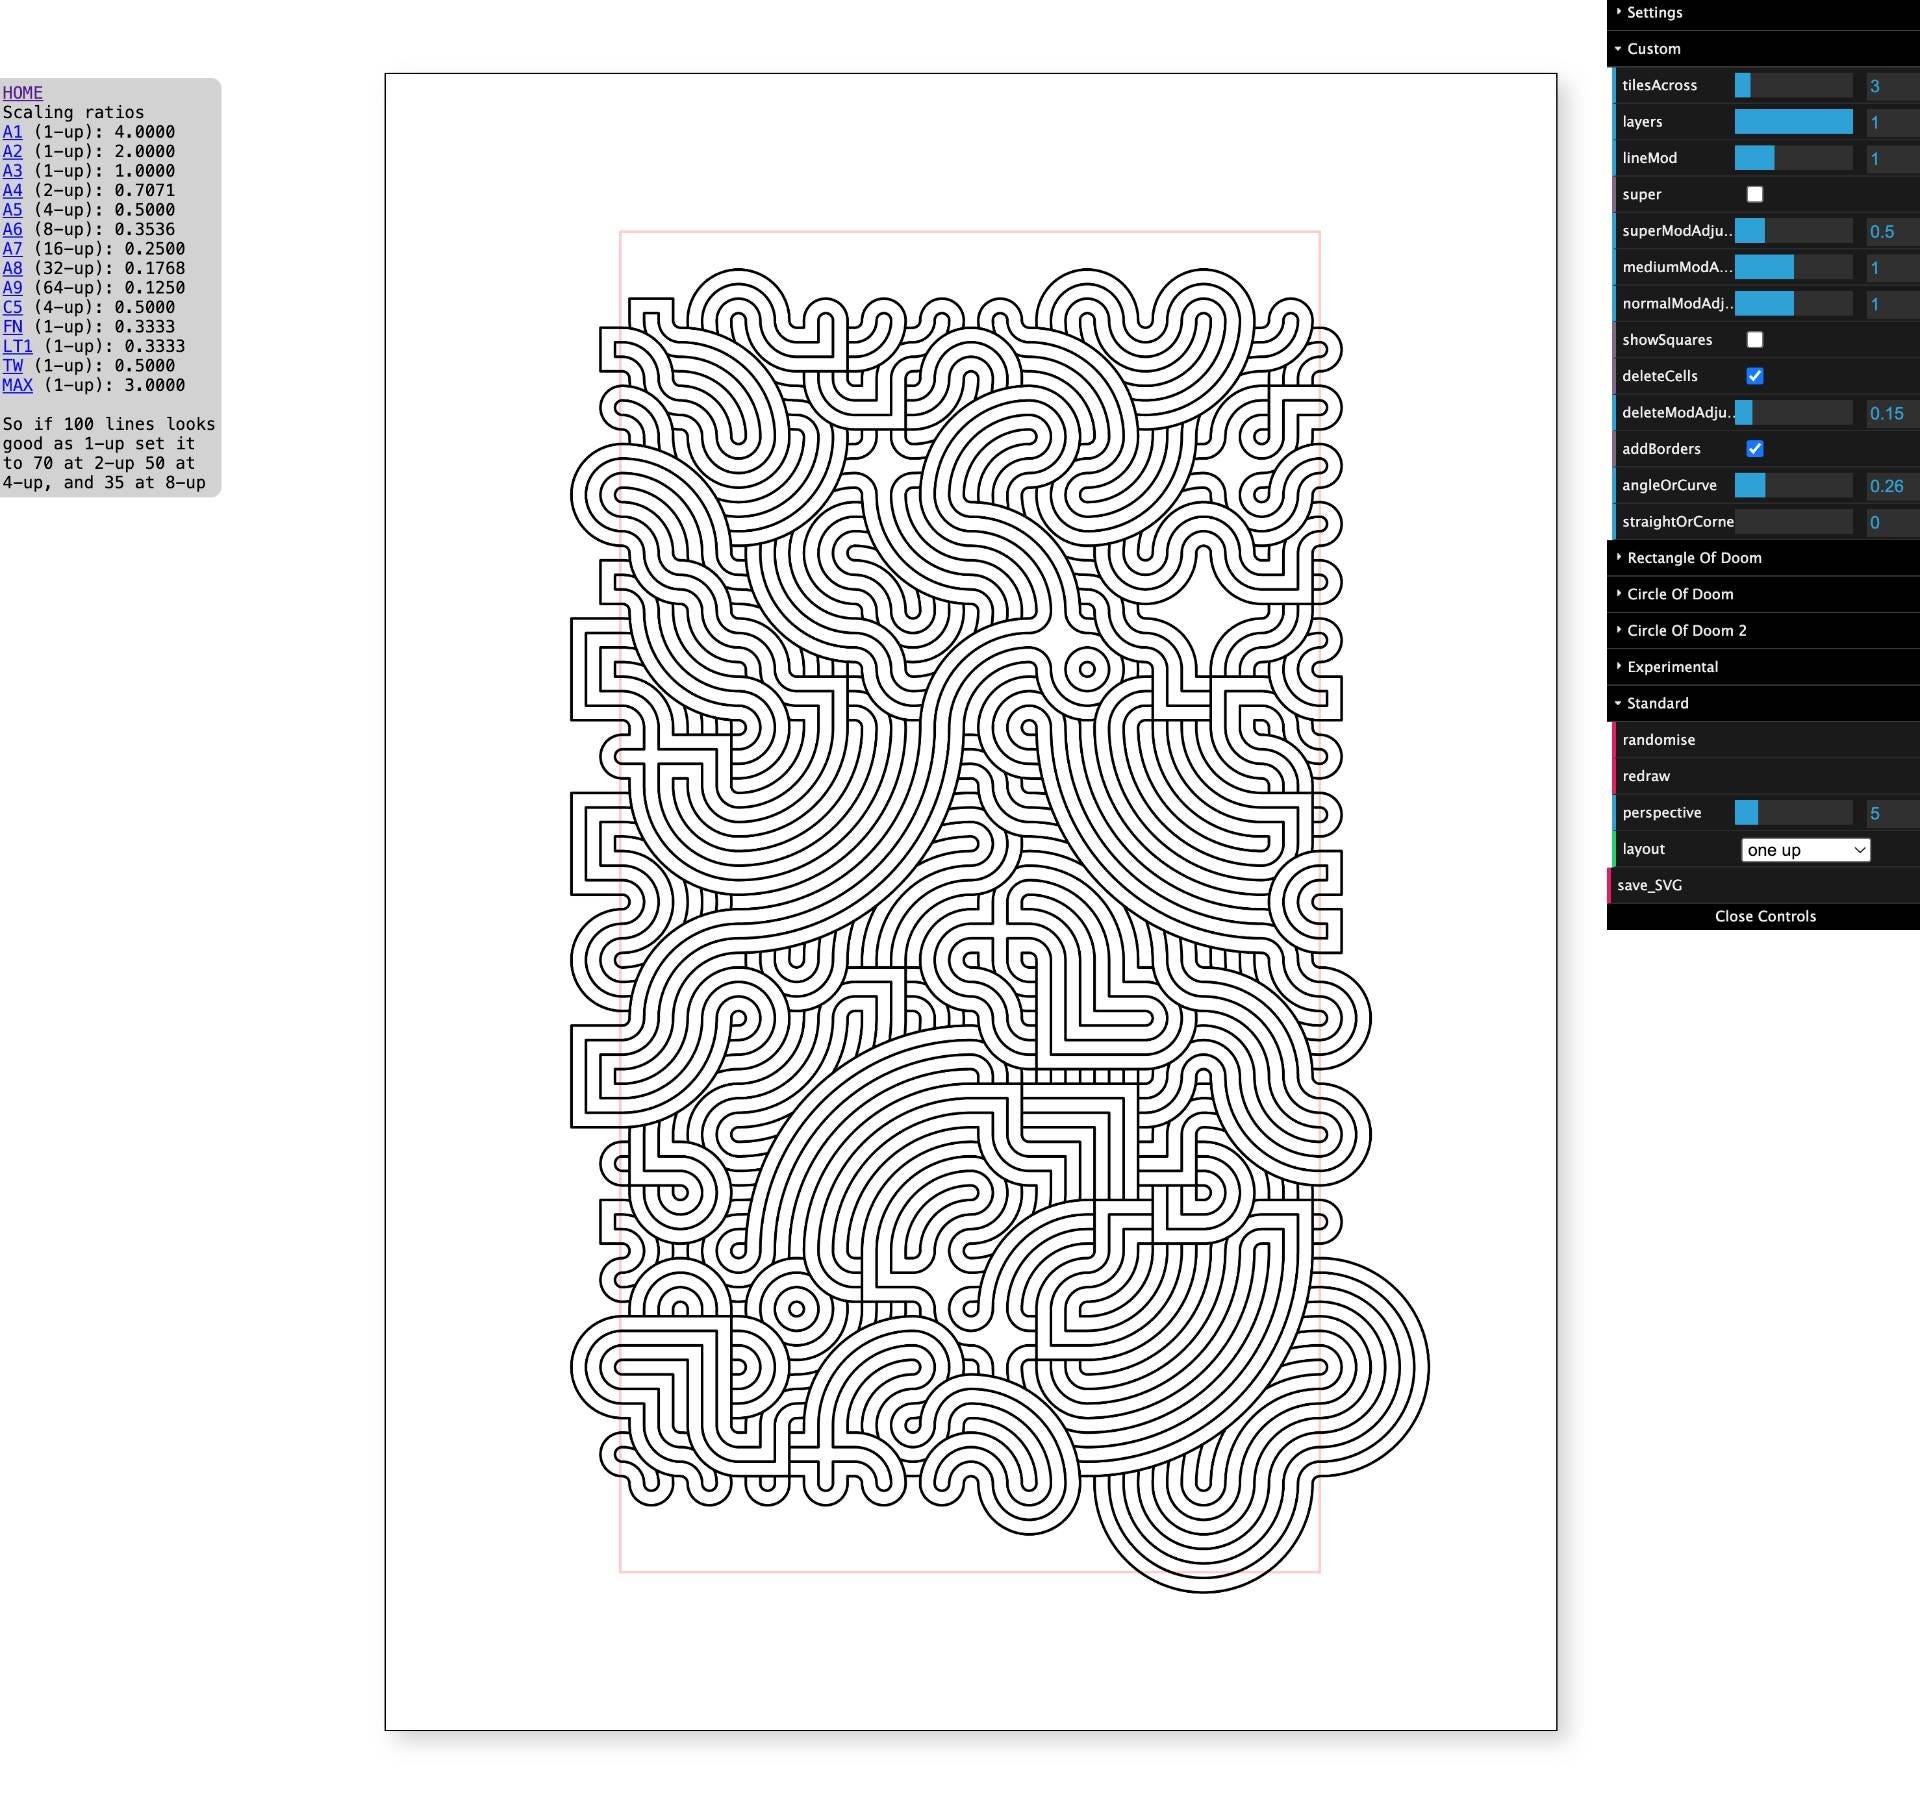
I hit the “save_SVG” button/thing and ended up with a file called `Pop-ish-2024-12-11-14-49-29.svg`
At this point you should be good to throw that file straight at the pen plotter, the default size is A3, but you can select various different sizes from the left (and then hit ‘redraw’), alternatively you can open the “Settings” part of the UI and change the page width, height & margins there, once again remembering to hit the ‘redraw’ button.
Then we hit the ‘HOME’ link, and…
#2. Optimise and Truncate
Pick the Optimise and Truncate option, see newsletter #048 for details.
The next step is to drag our file into the “Drag file here” area, and then wait while it joins all the lines together and optimises them. The default threshold setting is a little too greedy, and may join lines that shouldn’t be connected. Hitting ‘1’ on the keyboard will make the threshold lower and fix that (using Shift+2 … Shift+9, makes even smaller thresholds for tiny designs). You want to get a balance somewhere between all the lines getting joined and none of them. This is what mine looks like…
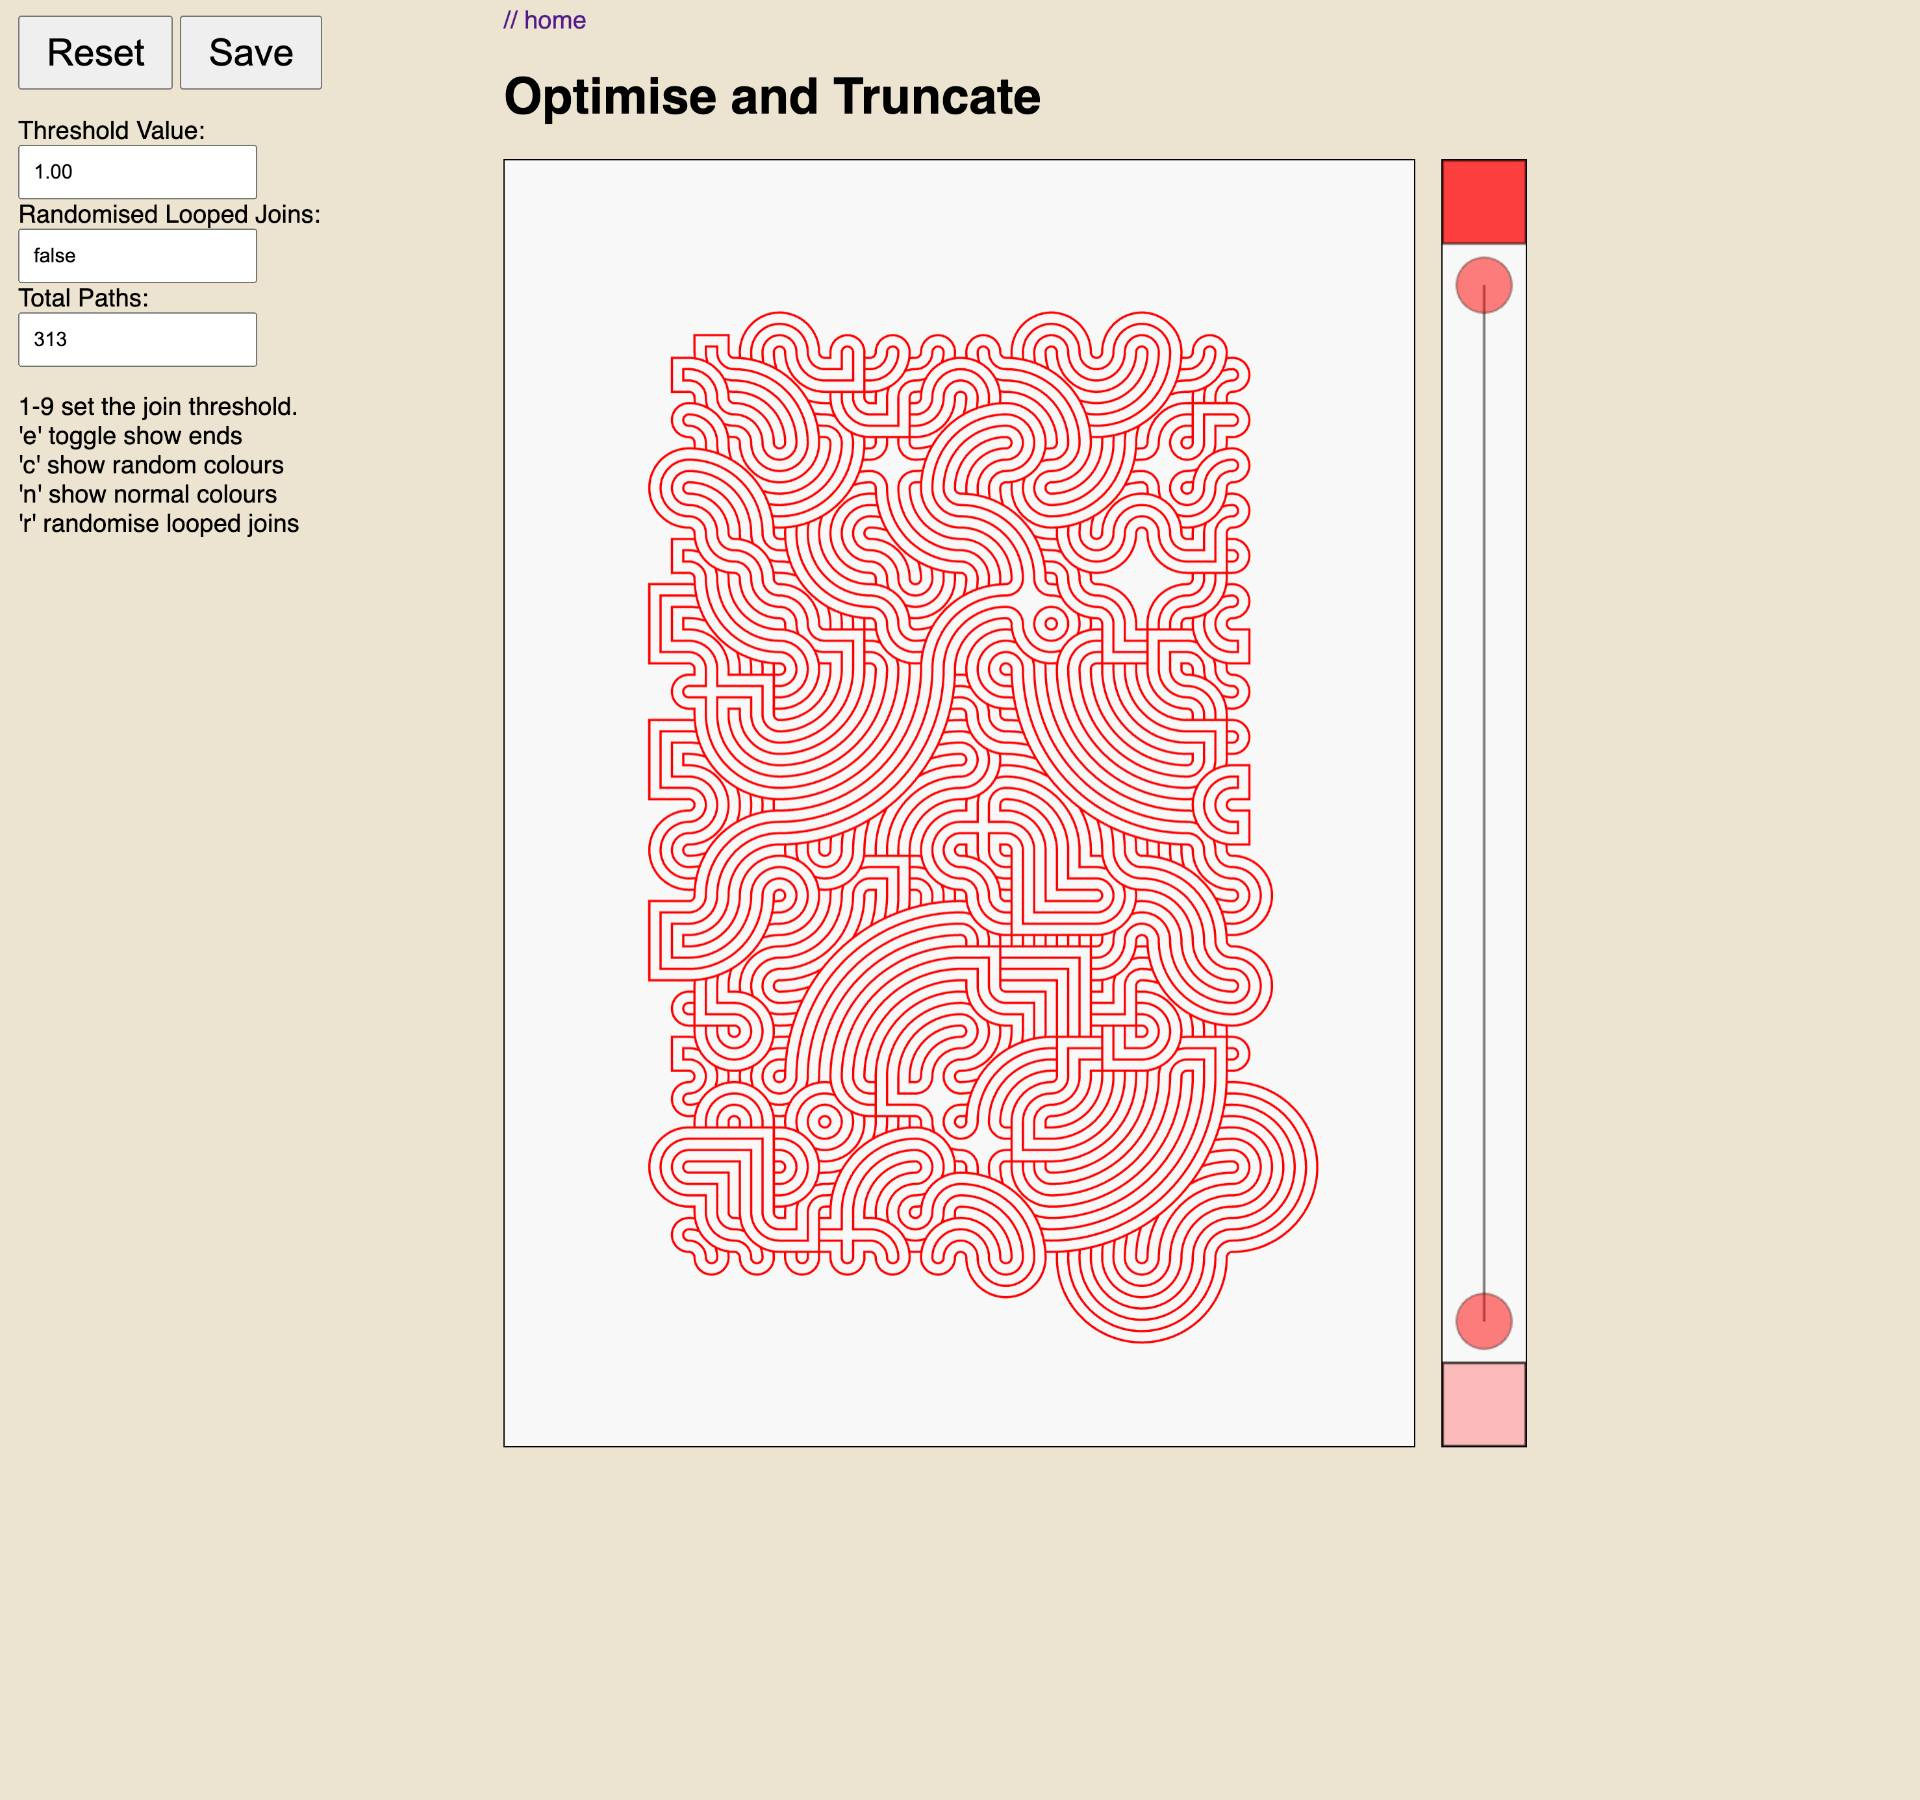
Next I’m going to grab and slide the two red circles on the right to “truncate” the design. Where you move these two depends a little on the initial design, so it’s worth playing around a little. Quick note, the UI here is a bit sloppy and it’s easy to “fall off” the circles, sorry!
I ended up with the position on the left…
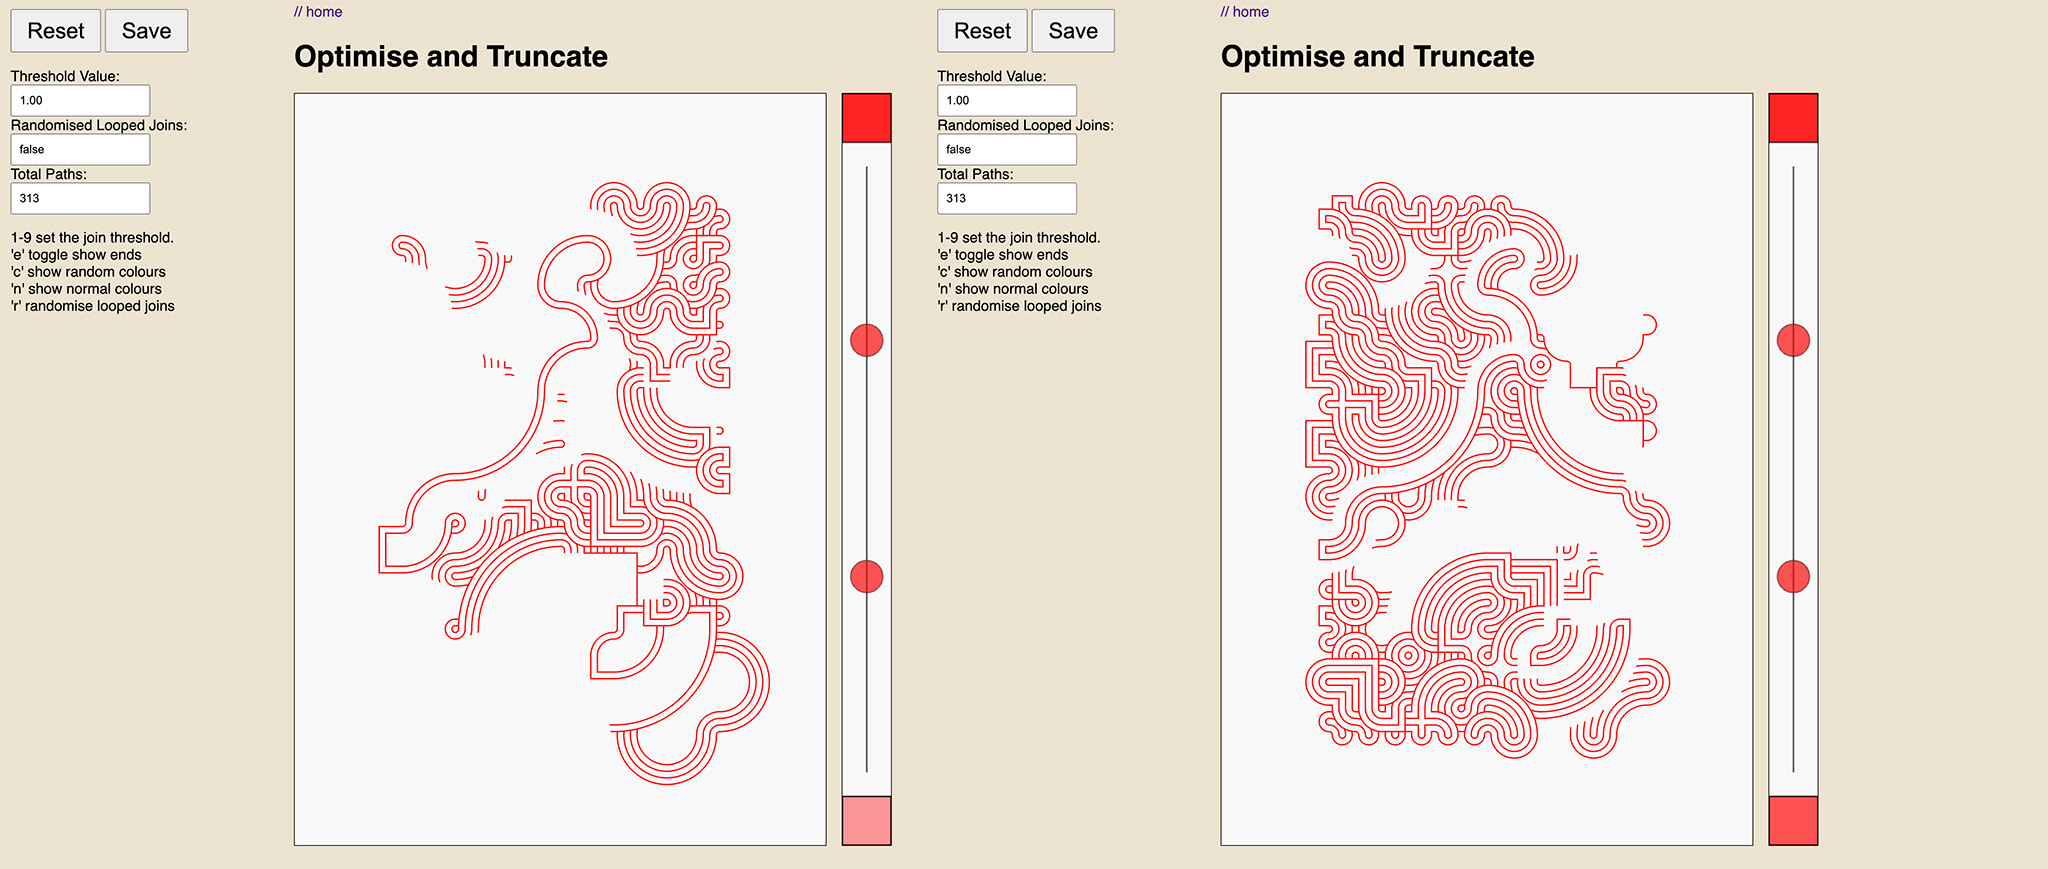
…which I quite liked, so I hit ‘save’ to get that file, and then clicked the red square at the bottom of the slider to invert which lines were thrown away and which were kept (shown right).
NOTE: You may need to allow multiple file downloads in your browser, as each ‘save’ attempts to download two files.
When this page saves files it gives you two versions, a `forwards` and `reversed` file, which is handy when you’re plotting with white or metallic pens and want to run the plot in both directions.
These are the files I’ve ended up with…
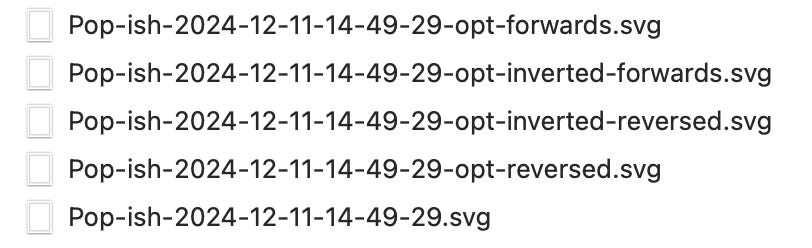
I’m going to keep the first two ‘forwards’ ones, and delete the others to stop things getting too complicated; as we’re about to make some more files by dragging these two into the…
# 3. Kaleidoscope
Same drill as before and drag the first file into the drag area, of the Kaleidoscope tool.
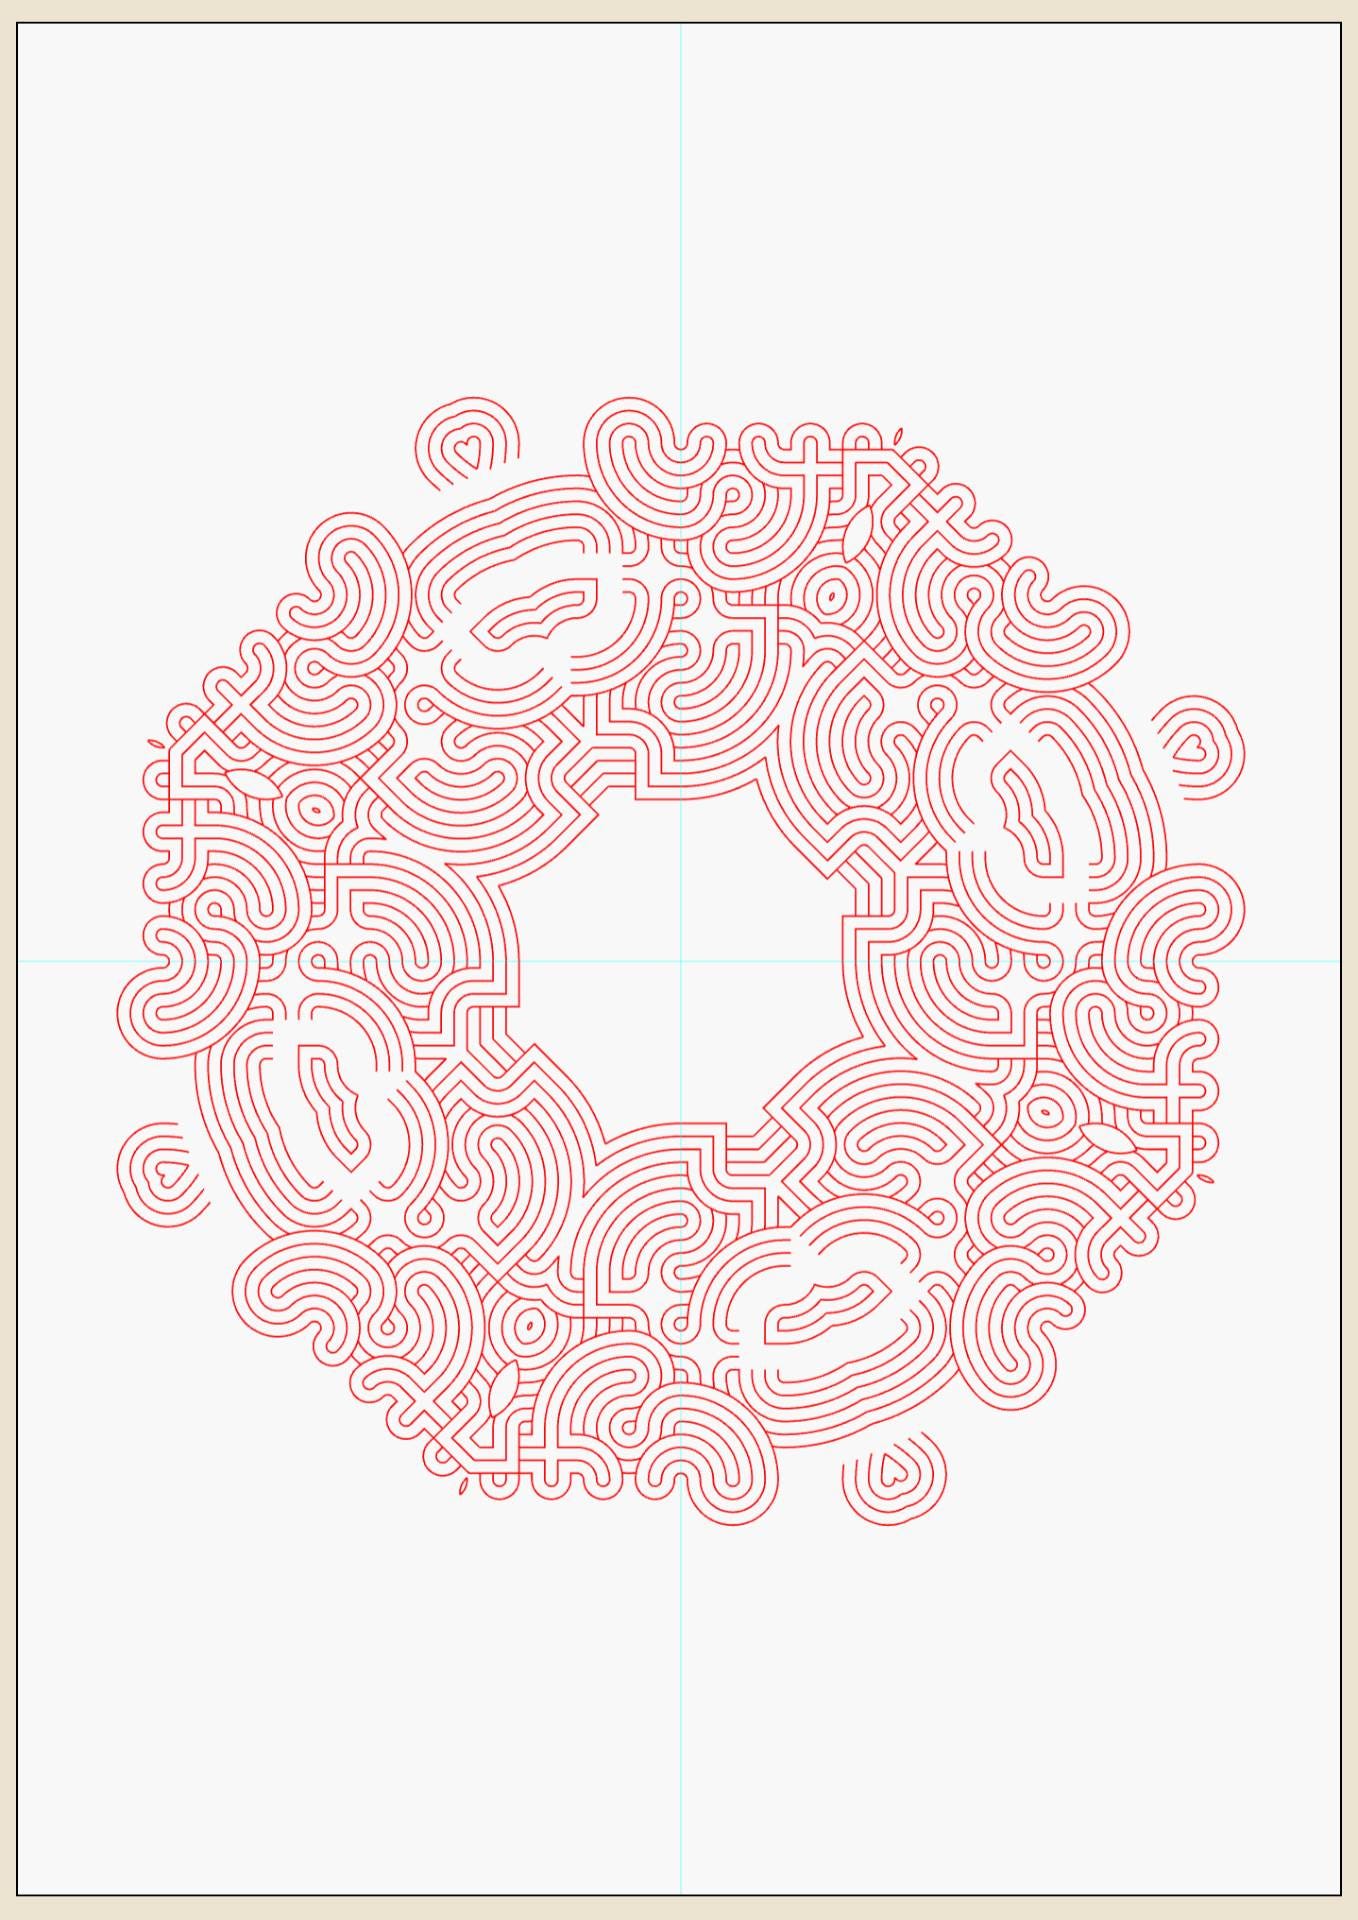
We need to use a little bit of imagination here. Imagine looking down on a lighthouse from above, the lighthouse is right in the middle of our design, and the light beam sweeps slowly around, here’s it on the inverted design I have.
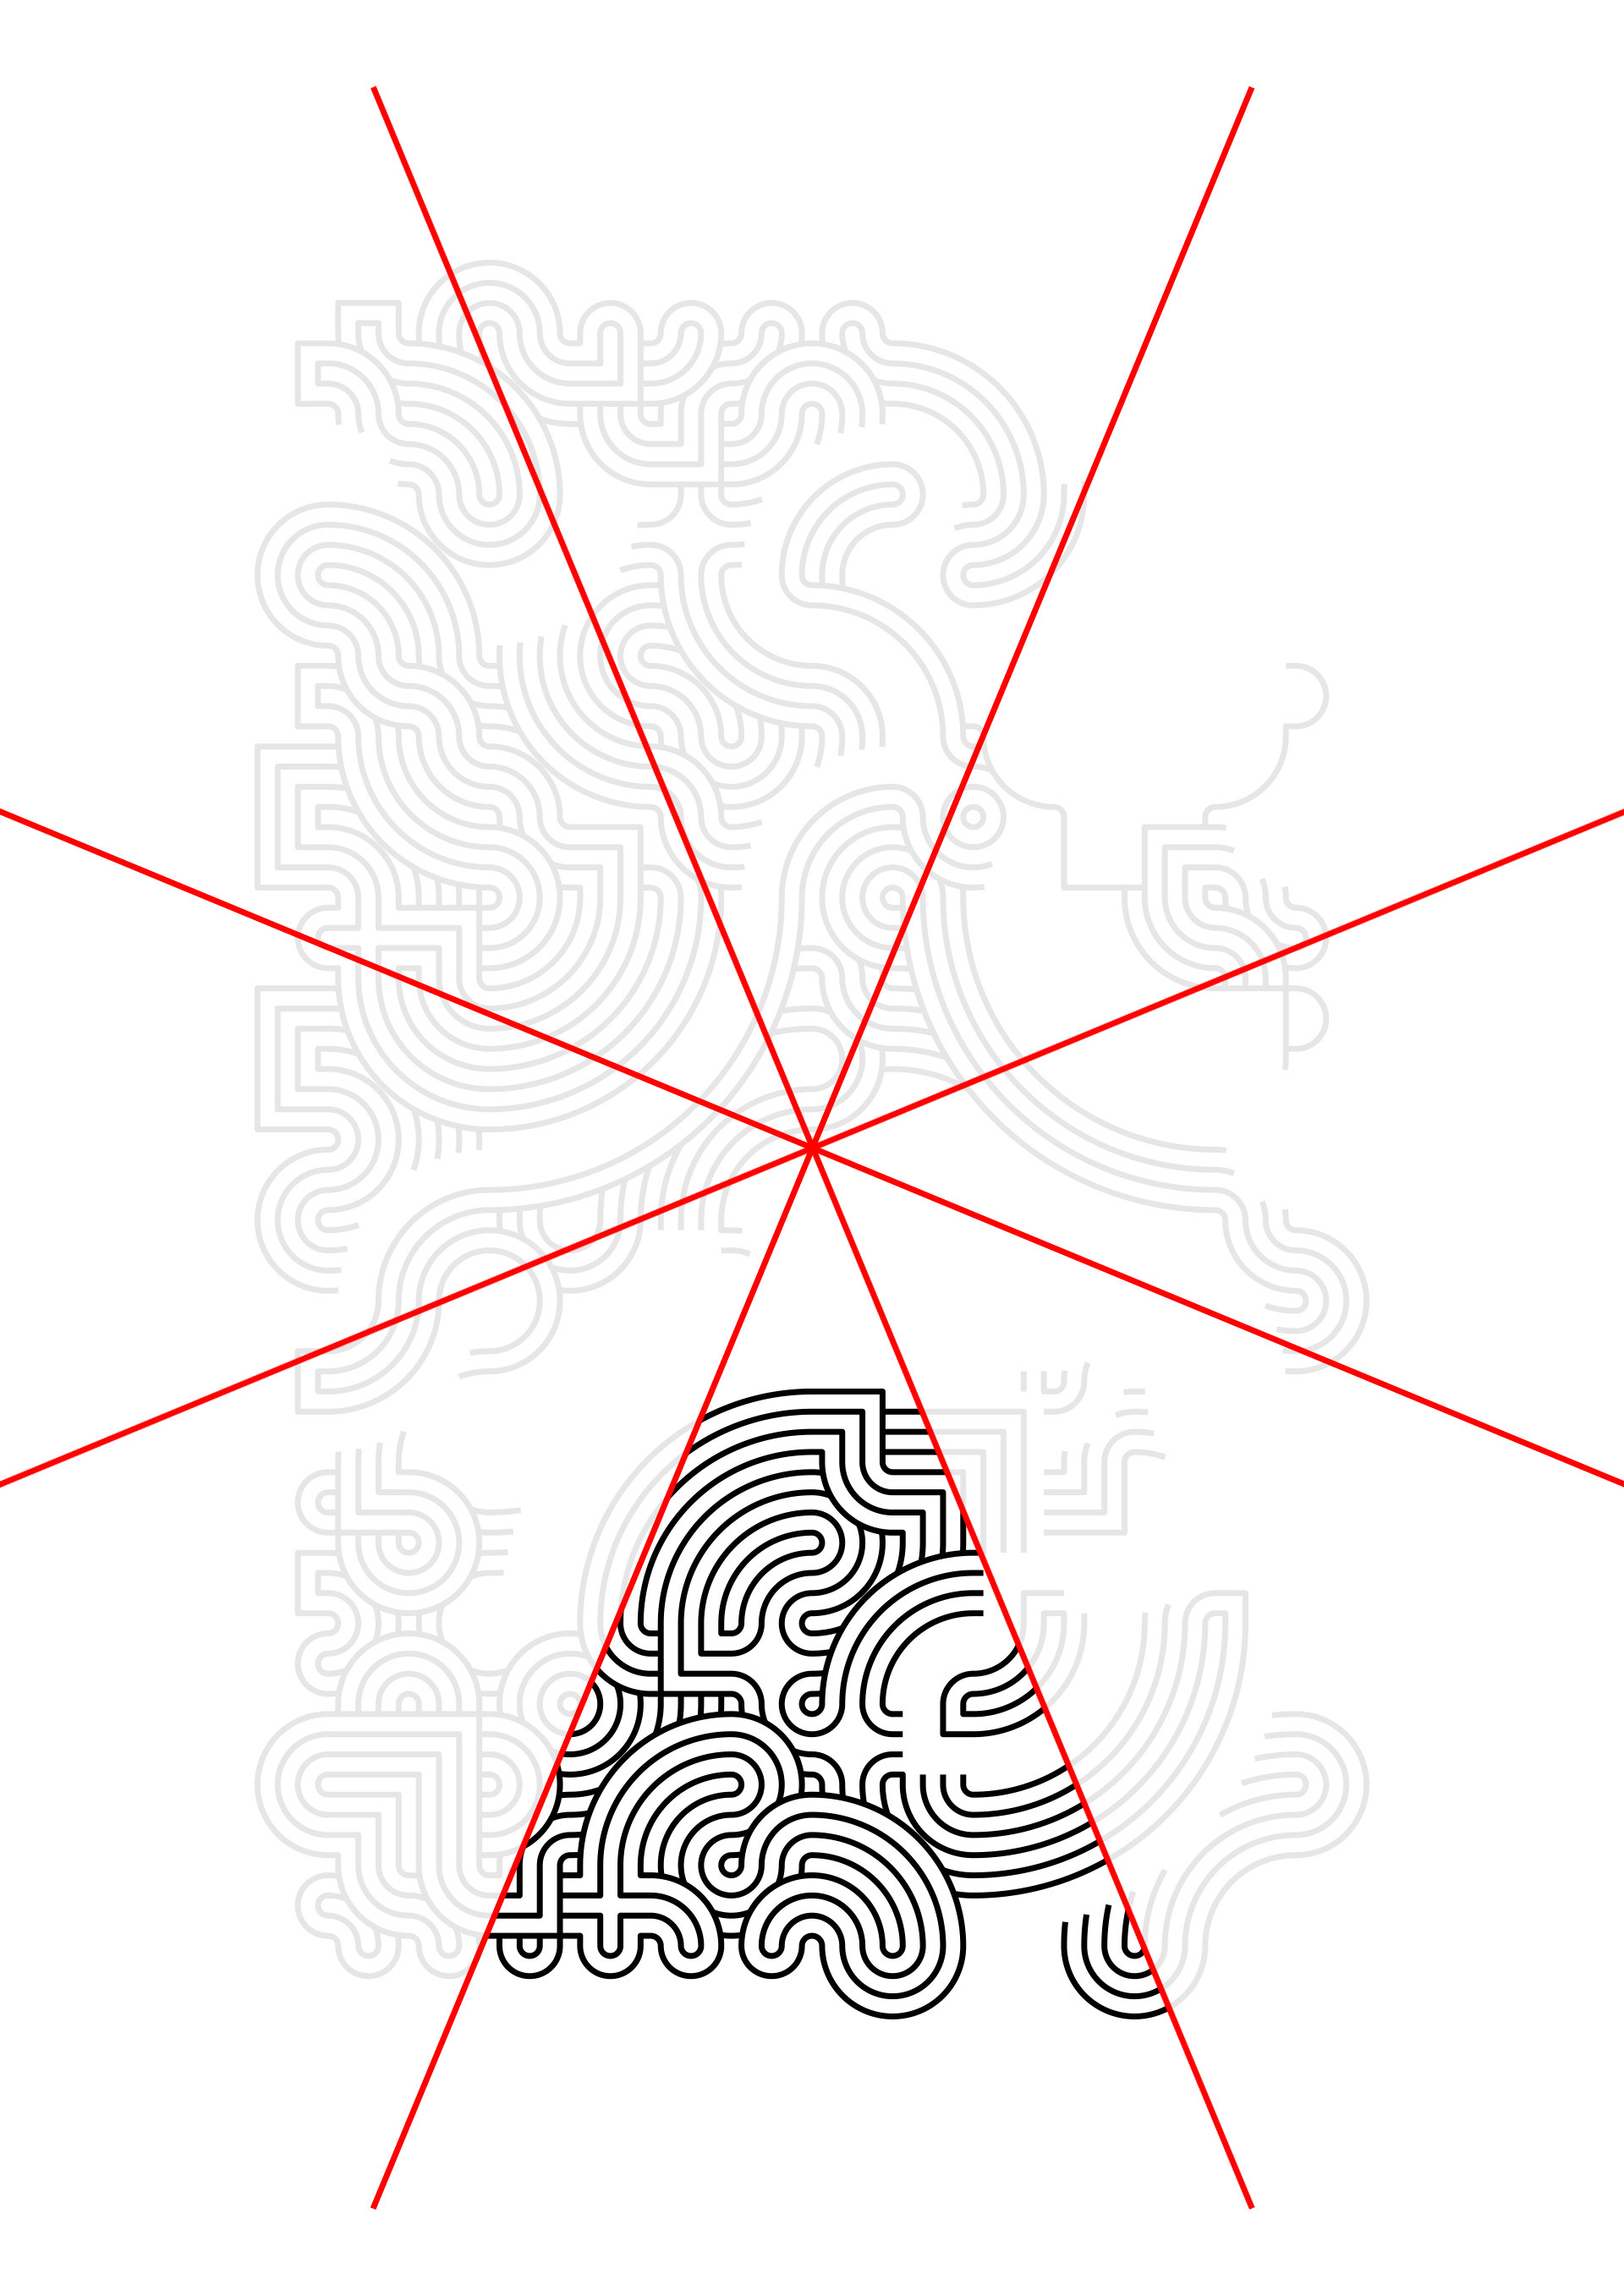
The default “beam” is 1/8th the whole circle and pointing directly south, what the code now does is it rotates and mirrors just that slither of the original design, something like this, (you can kinda figure it out once you look for the bottom edge of the slither)…
If I rotate the beam from the lighthouse we’ll get different sections. I’ve found rotating just past a corner until we’re hitting the side edge at an angle gets good results.
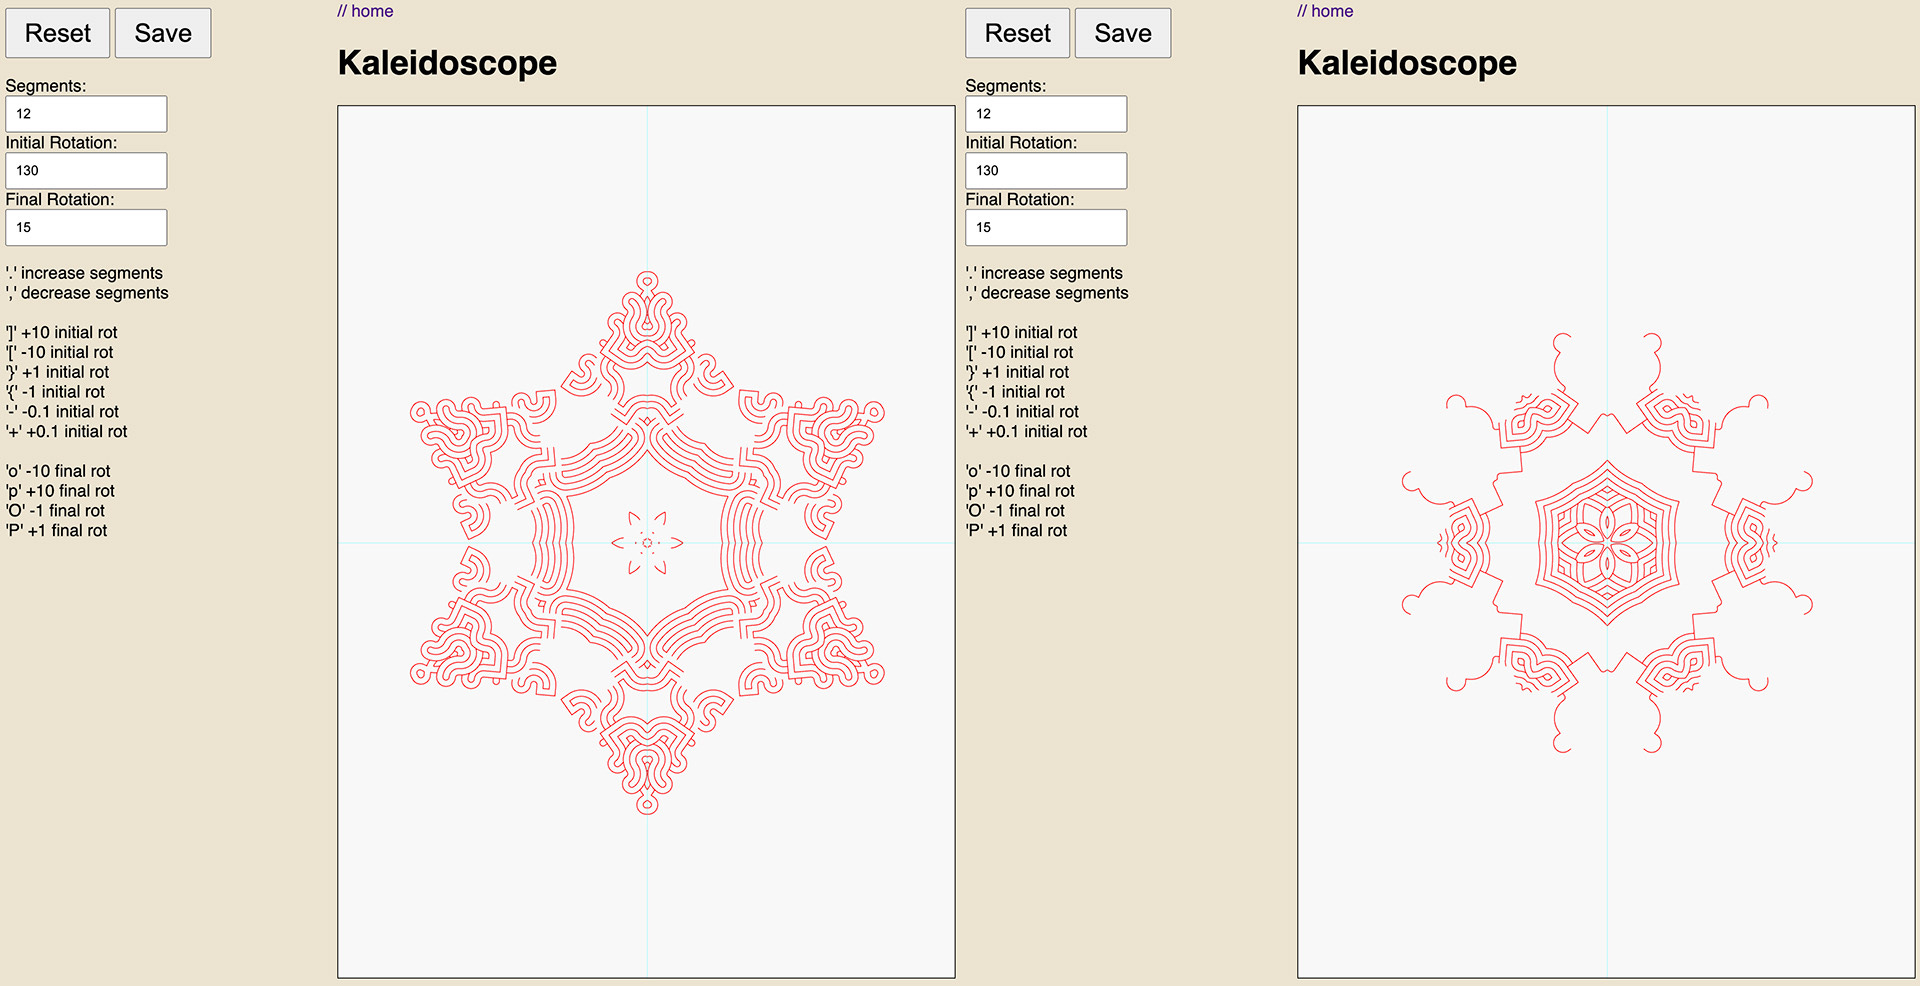
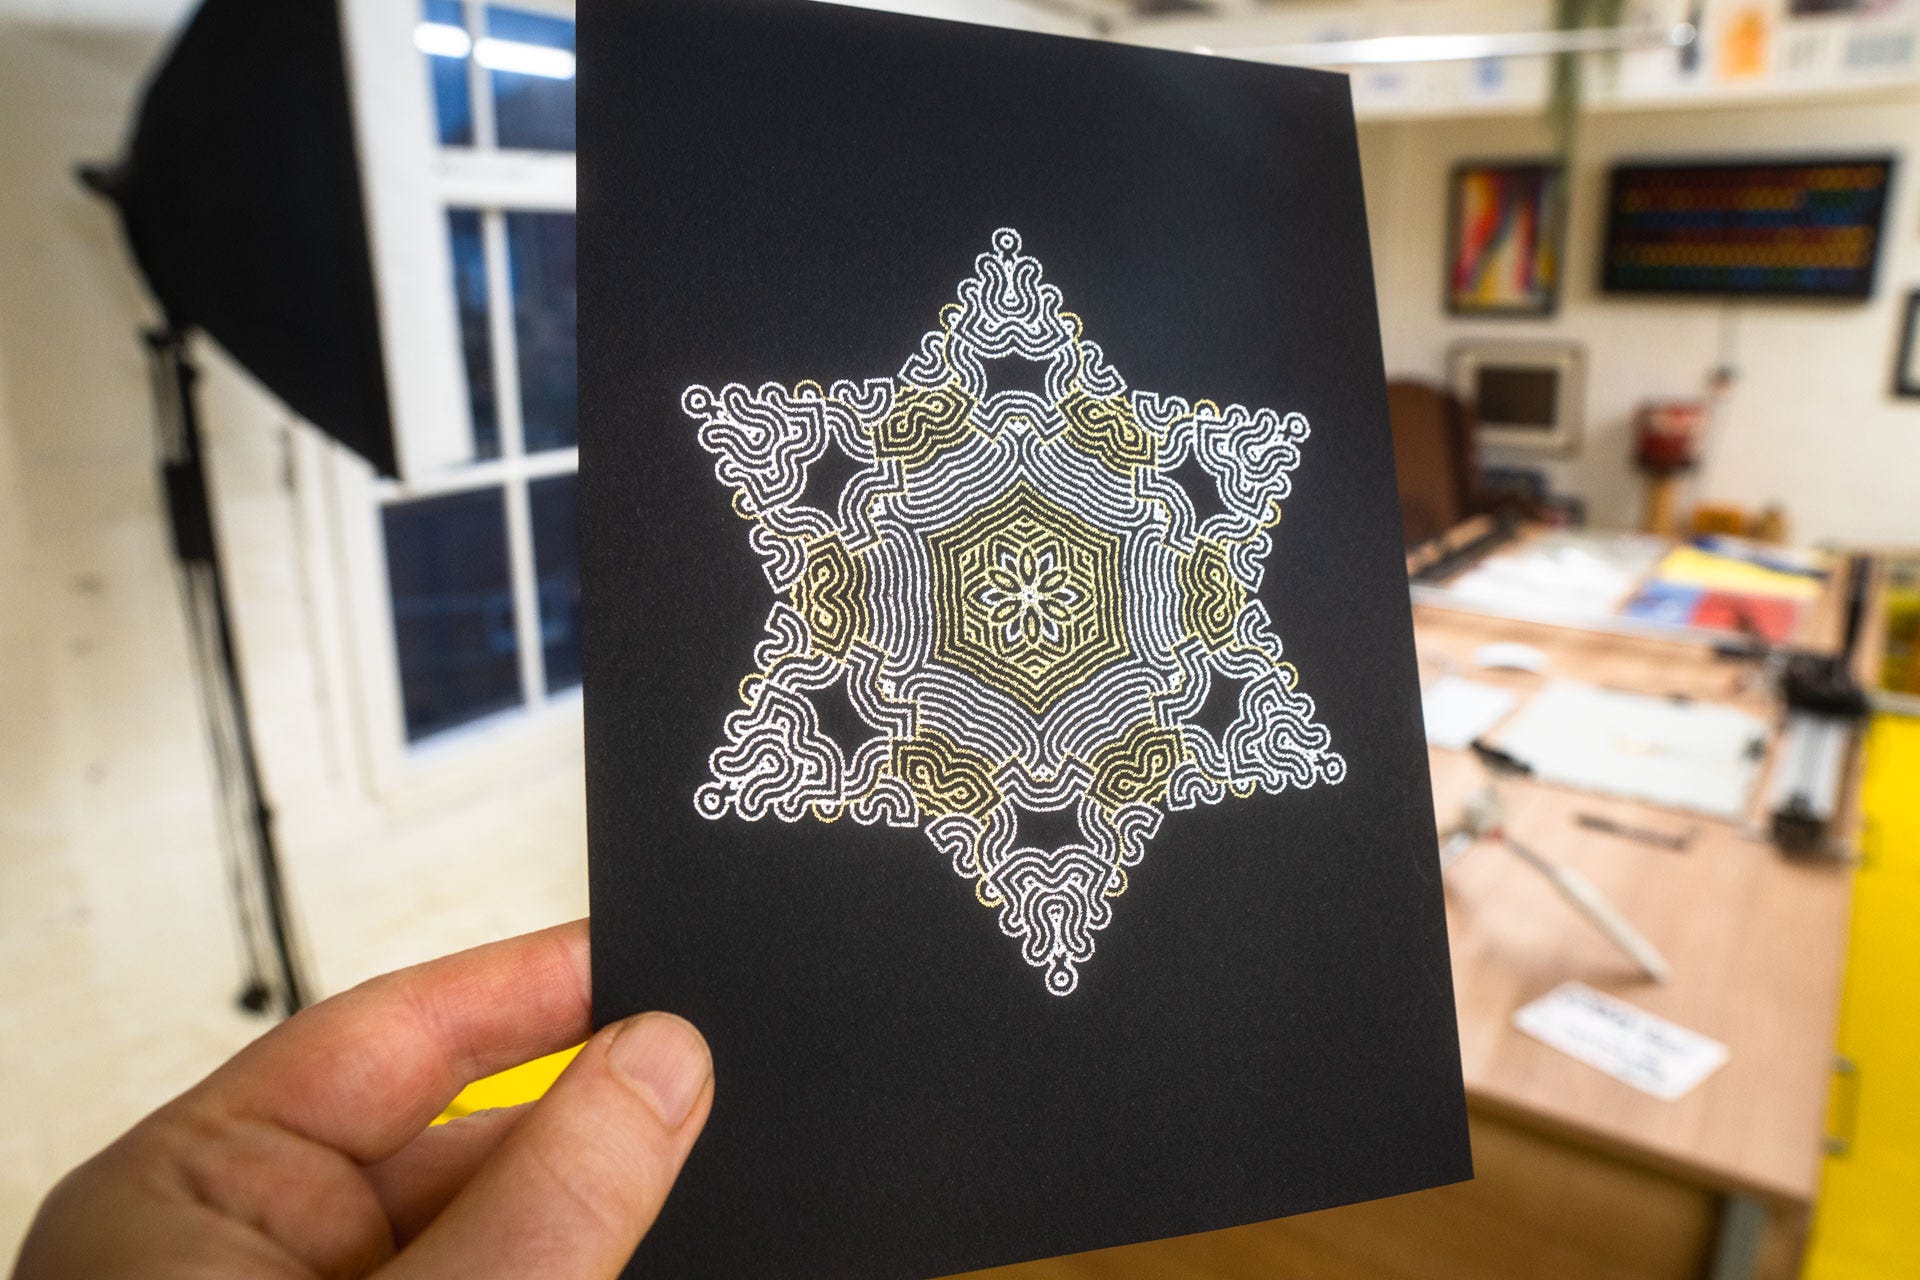
Now, because I know what I’m doing, and I want to end up with something snowflake like with 6 points, I pick 12 sections, for reasons. And then using the ‘[‘ and ‘]’ keys rotate that lighthouse.
Shown (if it loads) as an animated gif above, 36 steps of 10 degrees each.
After a bit of faffing around I’ve decided this design works well at 130 degrees.
So I save first the normal version, hit “Reset” drag in the other ‘inverted’ file, which should keep the settings the same and save that one too. Giving us two interlocking designs.
Note: Due to code weirdness, you should reload the whole page between new designs, as ‘resetting’ keeps the same values and a hidden scaling value it sneakily uses. And, if you enter values into the boxes, you need to hit enter, just using TAB won’t cut it.
# 4. Optimise (again) and scale
The final step(s) is to go back to the Optimise and Truncate page, because now our kaleidoscope designs aren’t optimised, and finally finally go to the Scale page if you want to change the size of the design.
I won’t bore you with the details, but sometimes I forget the original design is A3 and what I really want is A5, or postcard (A6) size, and I can’t be bothered to fire up Inkscape.
You know the drill, drag the SVG (you’ll be knee deep in SVG files at this point!), and then hit the 1-6 key to output at A1 to A6.
Which again only works on SVGs created with these tools, because the code knows the format of them.
Pop-ish-2024-12-11-14-49-29-opt-forwards-kaleidoscope-0-opt-forwards-A5.svg
Pop-ish-2024-12-11-14-49-29-opt-forwards-kaleidoscope-0-opt-reversed-A5.svg
Pop-ish-2024-12-11-14-49-29-opt-inverted-forwards-kaleidoscope-0-opt-forwards-A5.svg
Pop-ish-2024-12-11-14-49-29-opt-inverted-forwards-kaleidoscope-0-opt-reversed-A5.svg
So now I have these ridiculously long filename, which shows me I have A5 versions of the optimised forward and reversed kaleidoscoped version of the forward and optimised versions of the normal and inverted original files. 😬😅
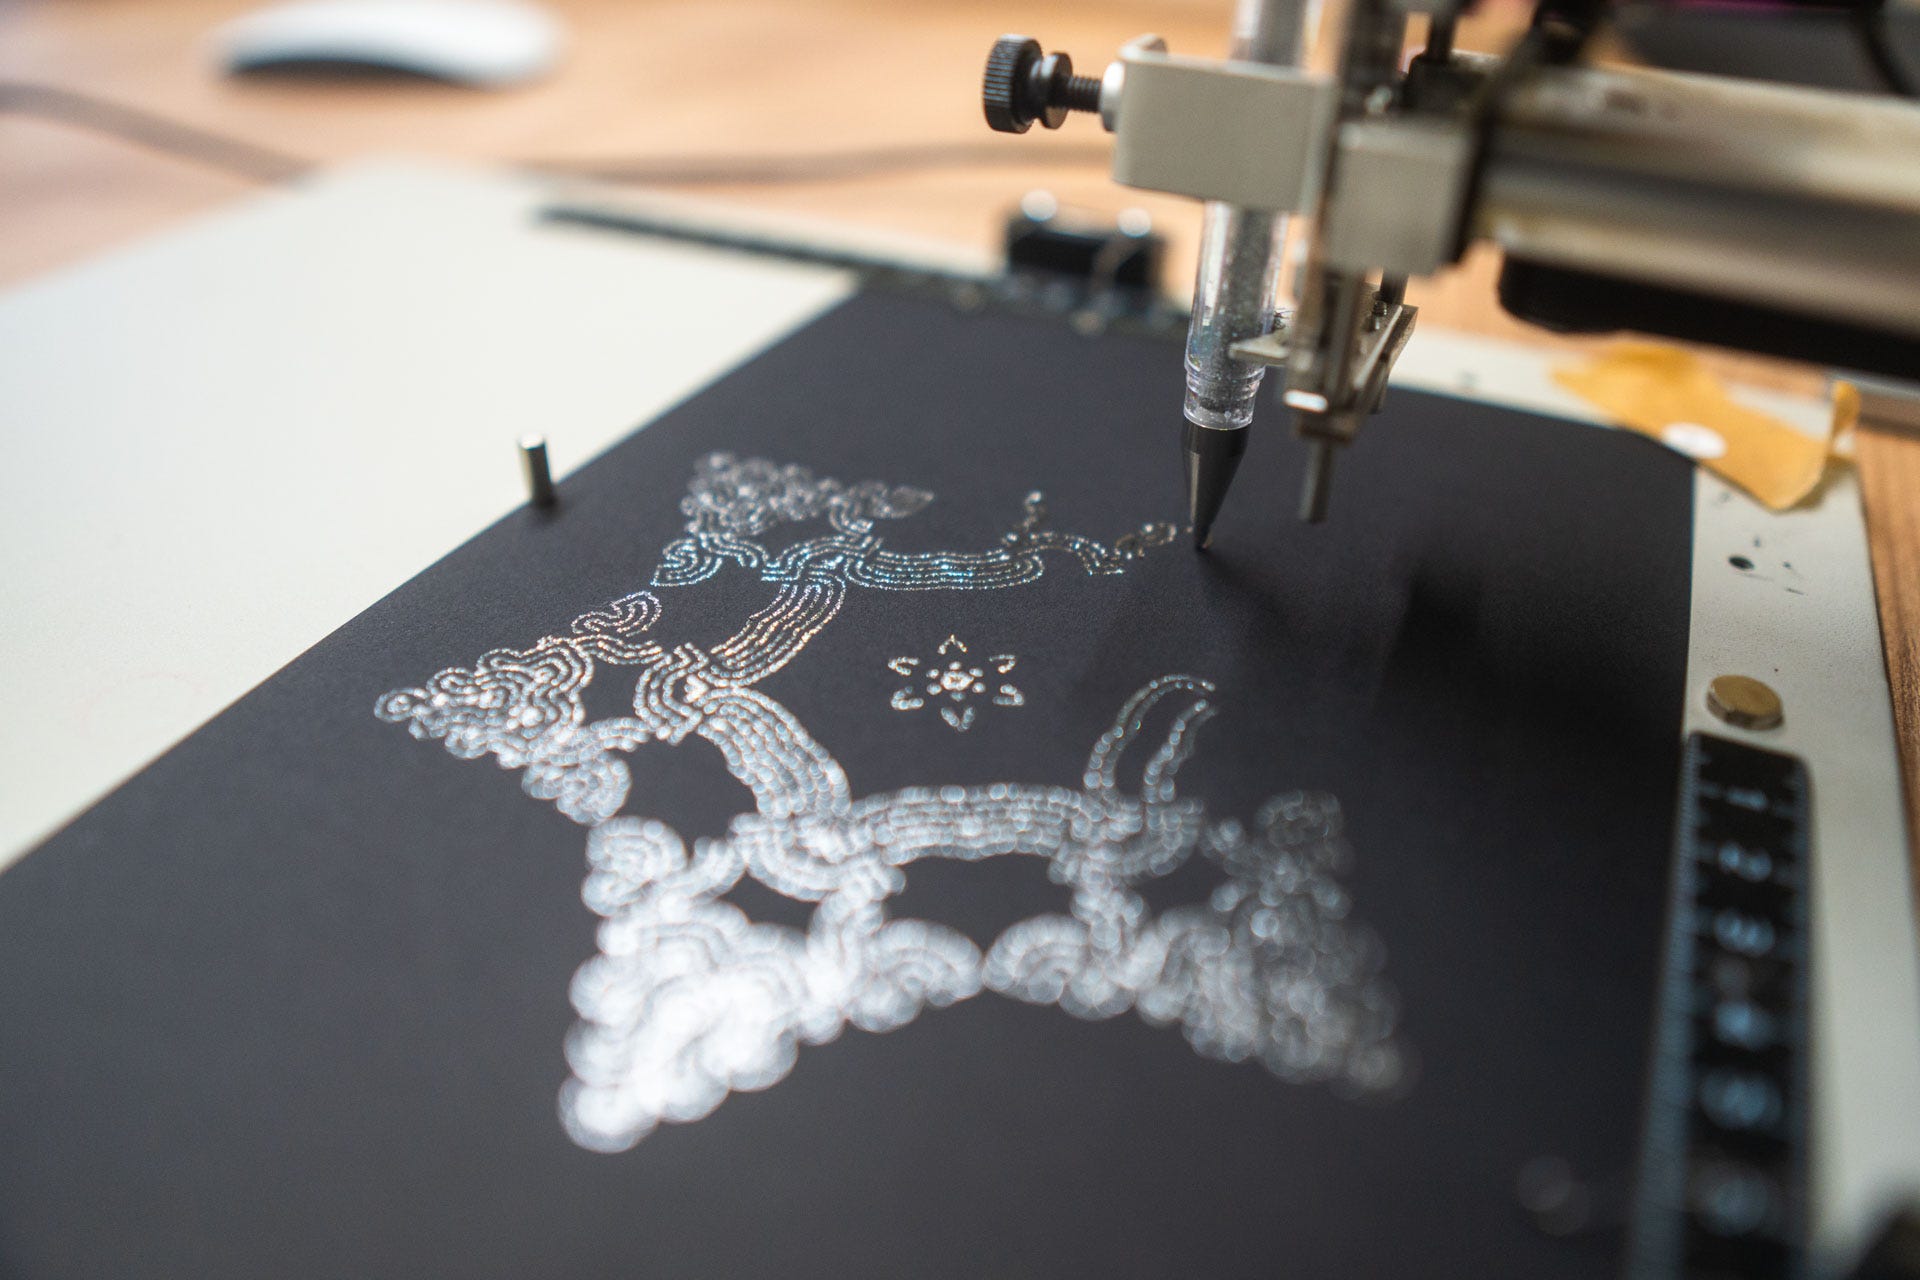
# 5. Plot
Last but not least, now it’s time to plot them.
# Workflow
As we can see there’s quite a bit of back and forth between tools, I’m optimising & truncating, kaleidoscoping, optimising again, then rescaling. Sometimes I bounce back and forth a couple more times.
And as you can probably guess from the way the main page says “Tools” there’s a few more “generators” that I haven’t uploaded yet, for various reasons.
But what I do love, even though it’s a bit of a faff, is having these tools that I can chain together to end up somewhere wildly different from where I started. Another tool not show here is the ability to merge two SVGs into one, again something that I could do in InkScape, but would rather not. Yup, I could also do a lot of this stuff in the amazing vpype but I like doing things in a certain way (my way).
The other bonus of having all this written in javascript, is that it doesn’t take much to also have the code running in nodejs (without the canvas previewing part) and then writing more code to chain tools together and automate the whole thing.
What I do struggle with a bit is sometimes deciding what’s a “generator” and what’s a “tool”, especially when I’ve started stringing several “tools” together that they essentially become their own “generator”. But, tbh, I’ve decided to just not worry about it…
…an approach that has worked perfectly several times in the past for a while until it suddenly doesn’t and I switch to “Oh, I need to rewrite everything from scratch in a new organised way”, and the cycle of creative coding life continues.
# The End
According to Substack that animated gif ate up all the email length limit, so once more I’m going to have to cut this short & there’s no room for anything else.
There is no call to action here, other than just trying to unwind as we head to the end of the year, then next newsletter will be (optimistically) out on the 26th of December, but there’ll also be a mini non-pen-plotting-in-between issue next Thursday (the 19th).
Thank you for reading, and good luck with the tools if you try them out, and be sure to share any nice kaleidoscope (or Pop) outputs you get.
Love you all
Dan
❤️