

📙 #076 - Dithering
One 2mm dot = 0.00008196ml of paint.

“You really are catching me at the end of things” — Nina Klymowska
I imagine that if you like this newsletter, you also love poking around other people’s studios: https://www.youtube.com/@joshuacharow/videos
# ADVENTURES IN DITHERING

Dithering and chunky pixels are nostalgia for old digital screens.
Halftone patterns and dots are nostalgia for old print.
Feels like a fairly uncontroversial statement.
And I’m all about the print, so halftones for me, but, ugh, I backed myself into a corner.
## POSCA
I have a box full of POSCA acrylic paint pens. I bought them ages ago thinking they’d be great for drawing on black paper with the pen plotter, I was so wrong. Let’s take a closer look at the pens…
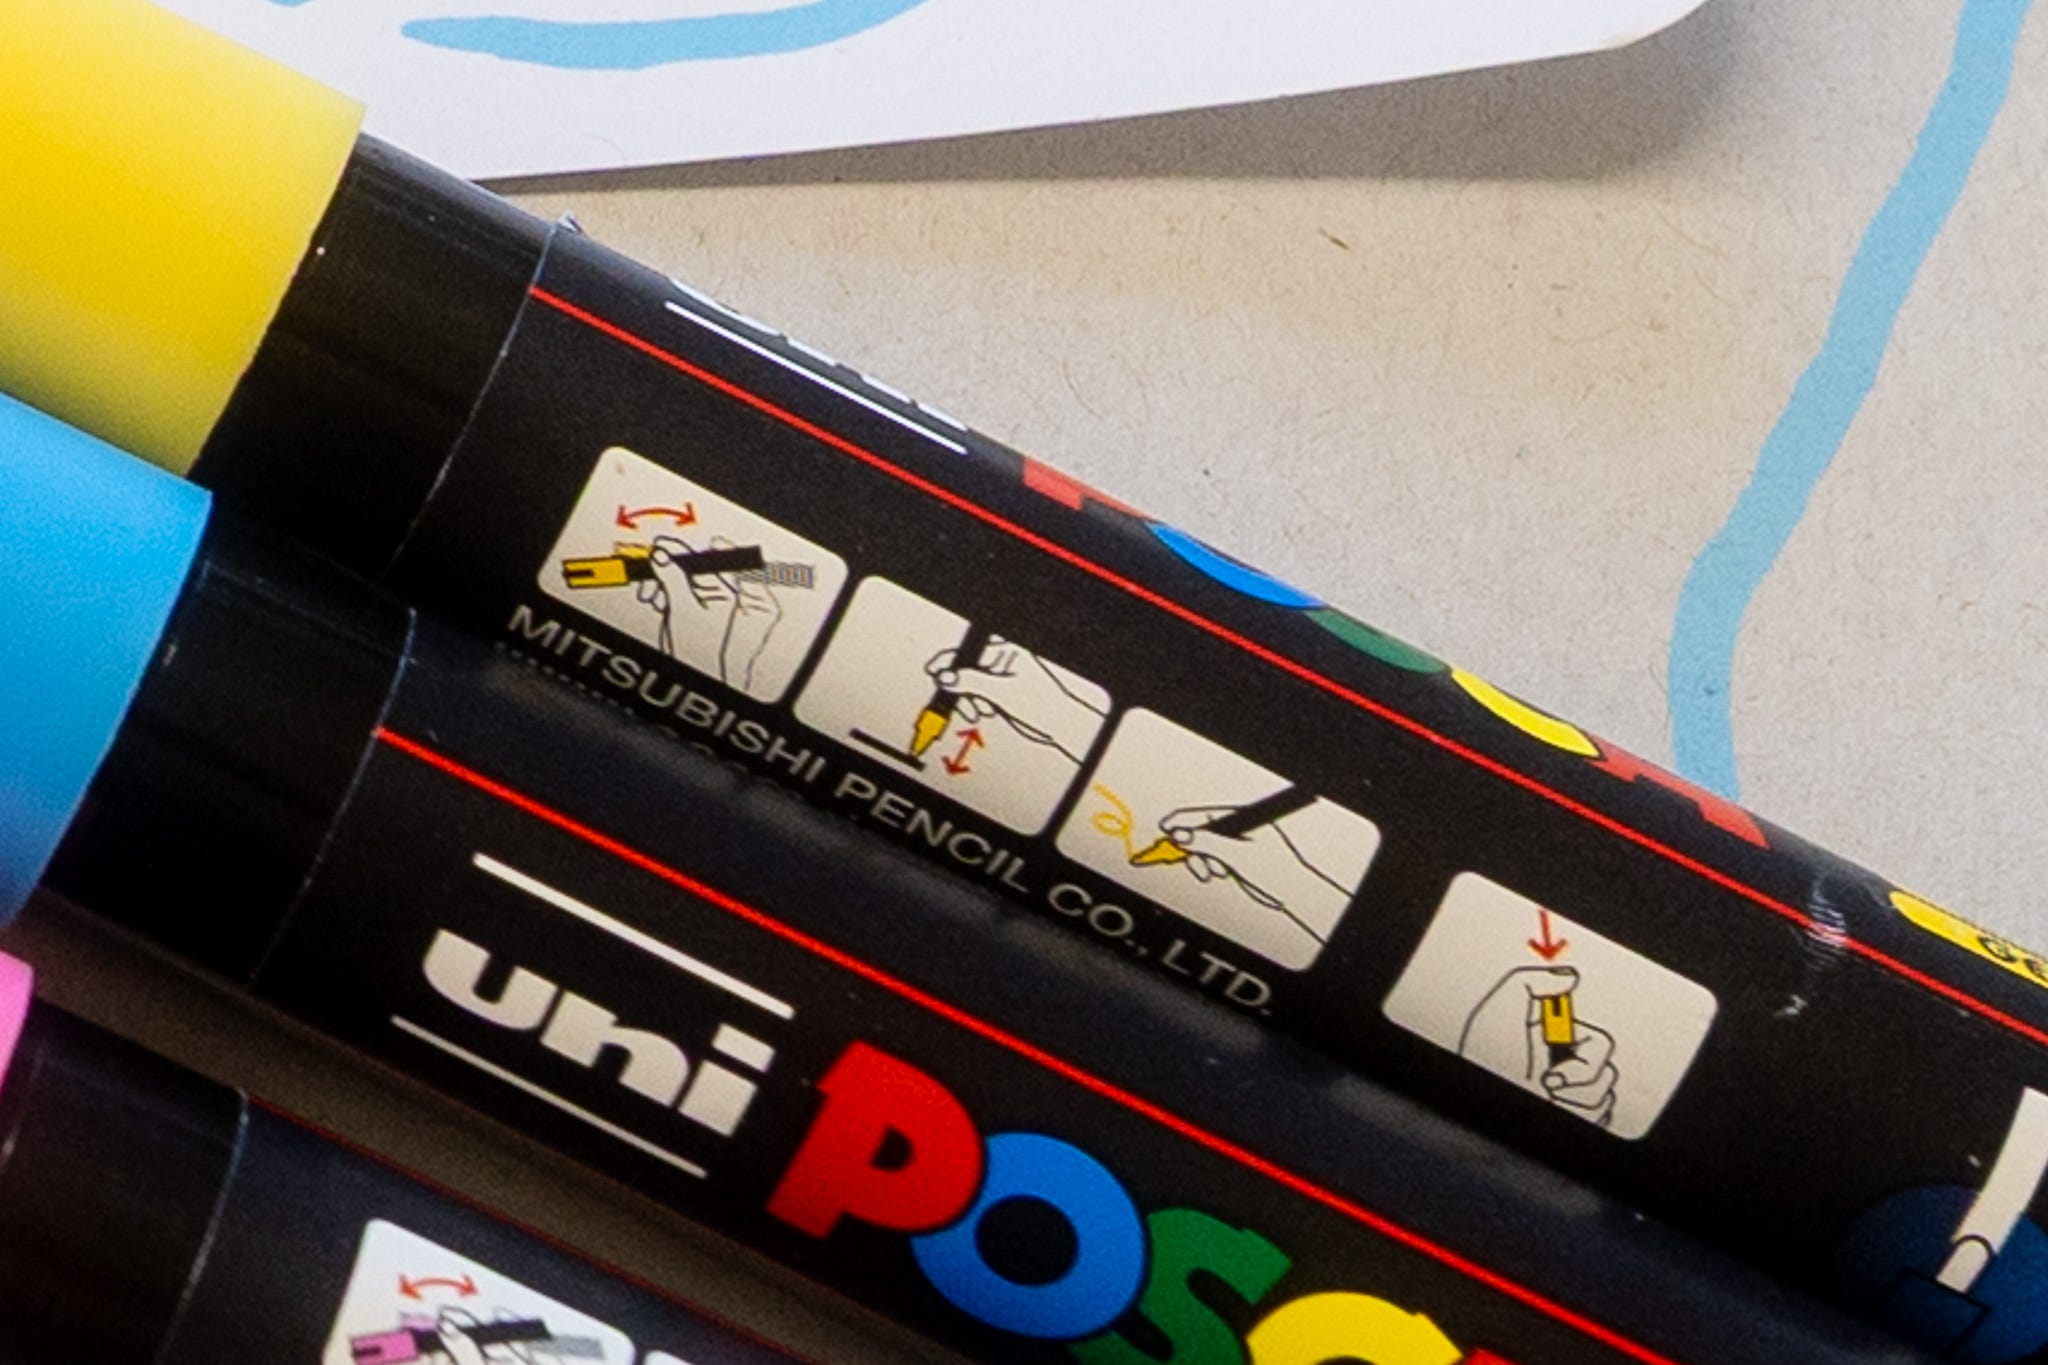
…yeah, you need to shake them before use, fine. Then “pump” them several times to get the ink to flow, also fine; but you have to keep doing that repeatedly throughout the plot or else they dry up. Which is tricky when they’re strapped into the machine.
However, I’ve been getting the ArtFrame to use rubber stamps & ‘cause it uses GCODE, you can use that GCODE to SLAM whatever it’s holding down as fast at possible.
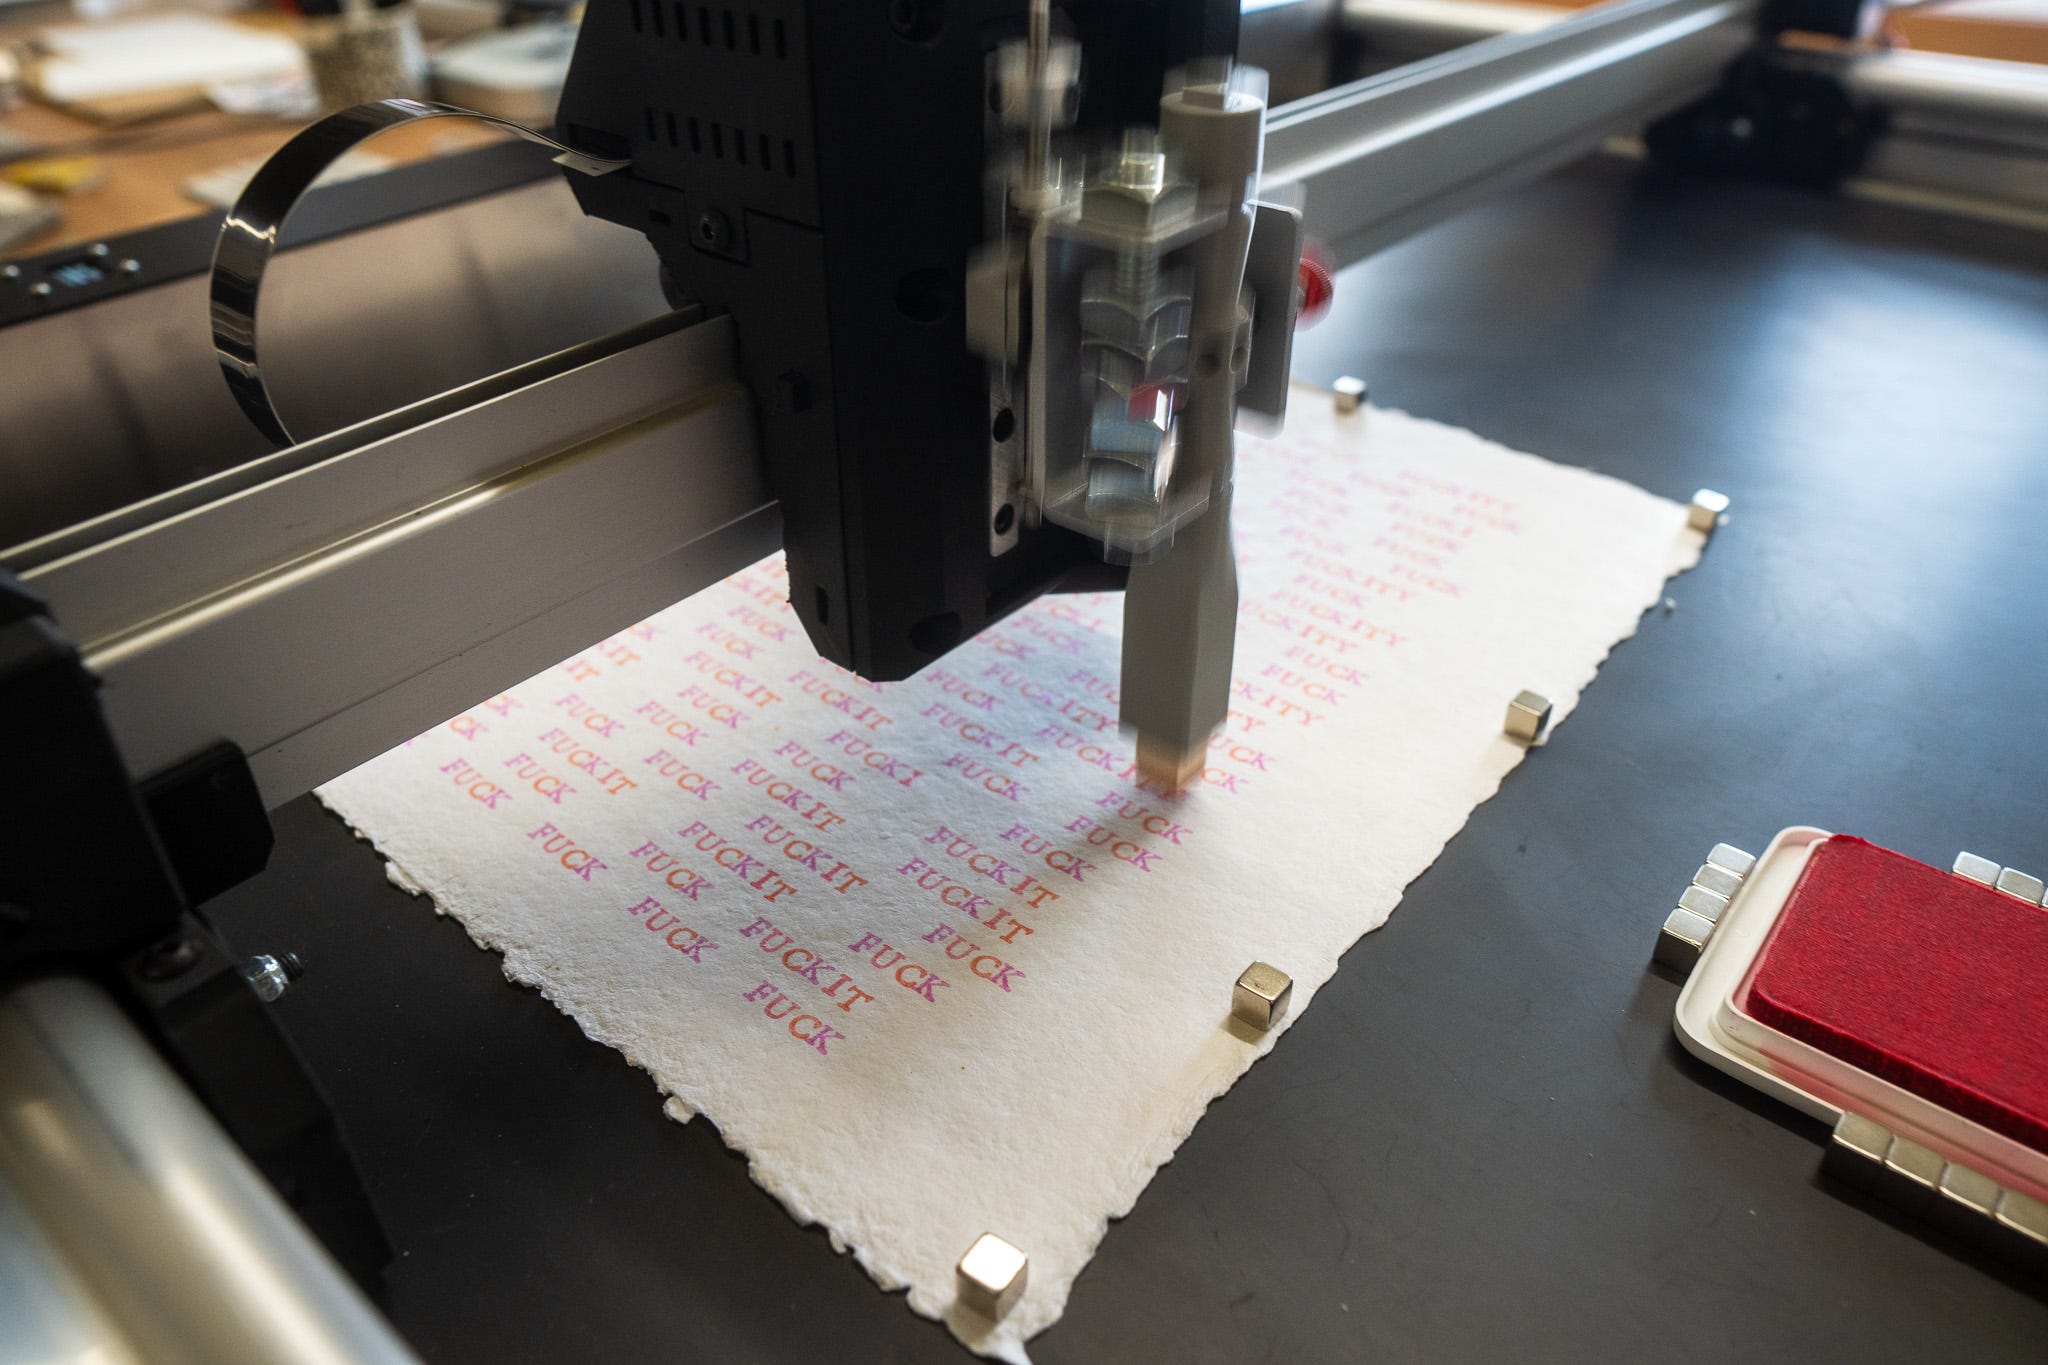
Which got me thinking, why not write the code so the machine draws some lines, and then after a certain distance moves the pen onto some sacrificial paper, in a corner somewhere, z-index the fuck out of it, repeatedly SLAMMING it up and down several times, before going back to drawing.
And as we saw last newsletter with the dots, I ended up decided the whole thing should just be dots/pumping the pen, so it’s always primed with paint/ink.
That’s one half of the halftone equation done.
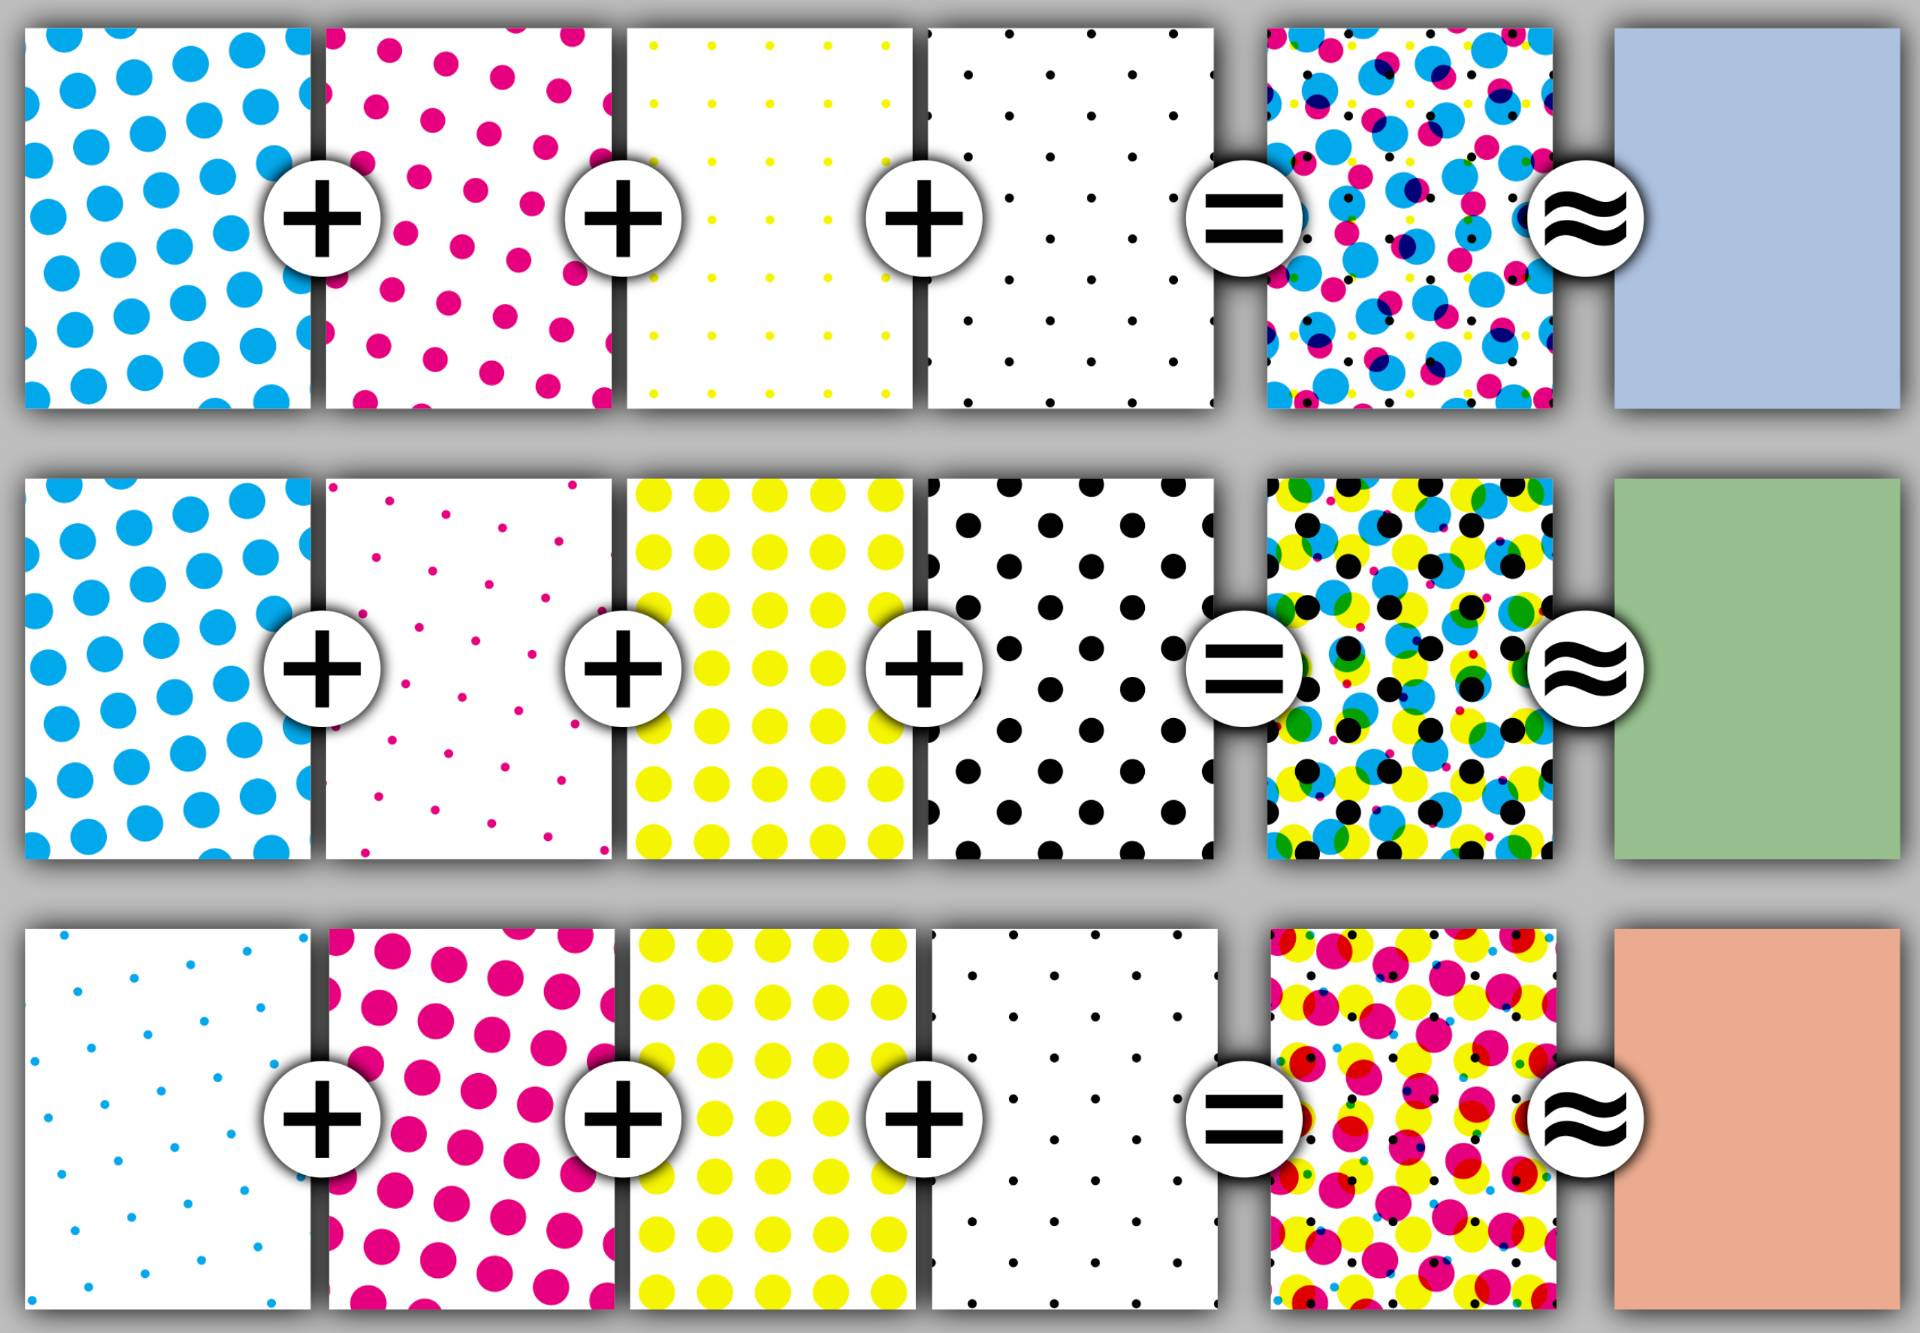
## HALFTONE
Basically you can create the appearance of shade by varying the size of dots on a grid, shown above a hexgrid. Below, mixing CYMK dots at various sizes to make different colours.
That’s fine, but I have pens, those pens have nibs, and those nibs make 2mm dots.
THUD, THUD, THUD, DOT, DOT, DOT.
2mm, no more, no less. I either have a dot or no dot.
So I can’t halftone with different sized dots, but I can dither. But I don’t want a chunky pixel square grid dither, ‘cause that’s for screens and retro games, I want print, so I want to use a hexgrid, now to escape the corner I’ve painted myself into.
## DITHERING
Here’s an excellent visual primer on dithering: https://visualrambling.space/dithering-part-1/ (thanks Ryan Cuppernull)
The only technical article you need on dithering: https://surma.dev/things/ditherpunk
Maths and numbers: https://tannerhelland.com/2012/12/28/dithering-eleven-algorithms-source-code.html
How Return of the Obra Dinn did it: https://forums.tigsource.com/index.php?topic=40832.msg1363742#msg1363742
And lastly, dithering in colour: https://obrhubr.org/dithering-in-colour
That covers the pixels, now dots
## HEX DITHERING
The trick to dithering is knowing which pixels or dots to turn on and off. The links above show there’s several ways of doing this, but I like to keep things simple, so here’s a grid of 12 dots…
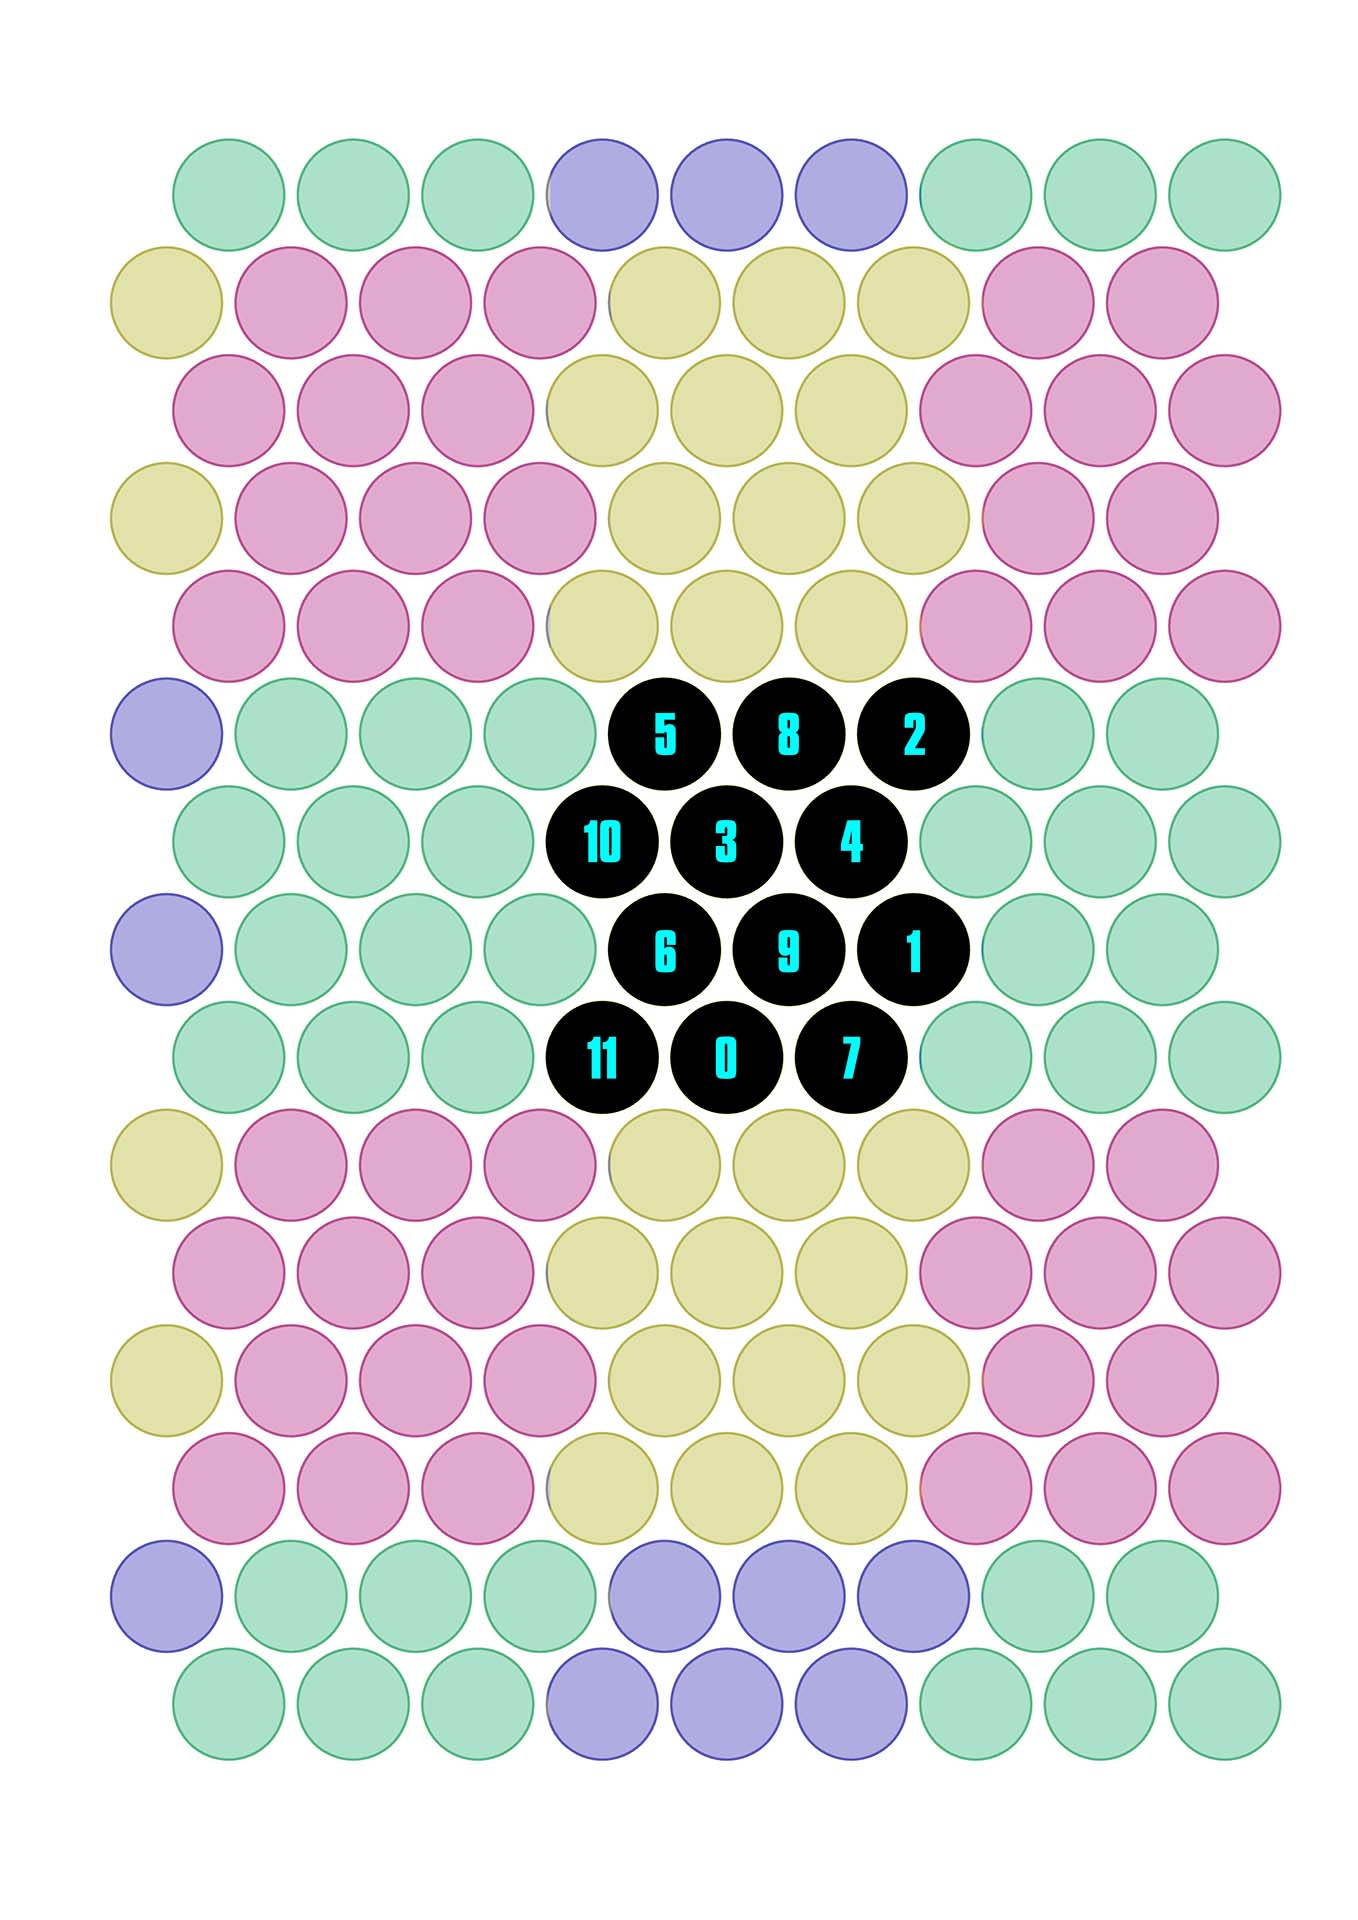
We’ll get onto why they’re numbered like that in just a moment.
First thing to note though is we can repeat this group of 12 dots over and over to fill in the whole page, I’ve coloured them to make it easier to see.
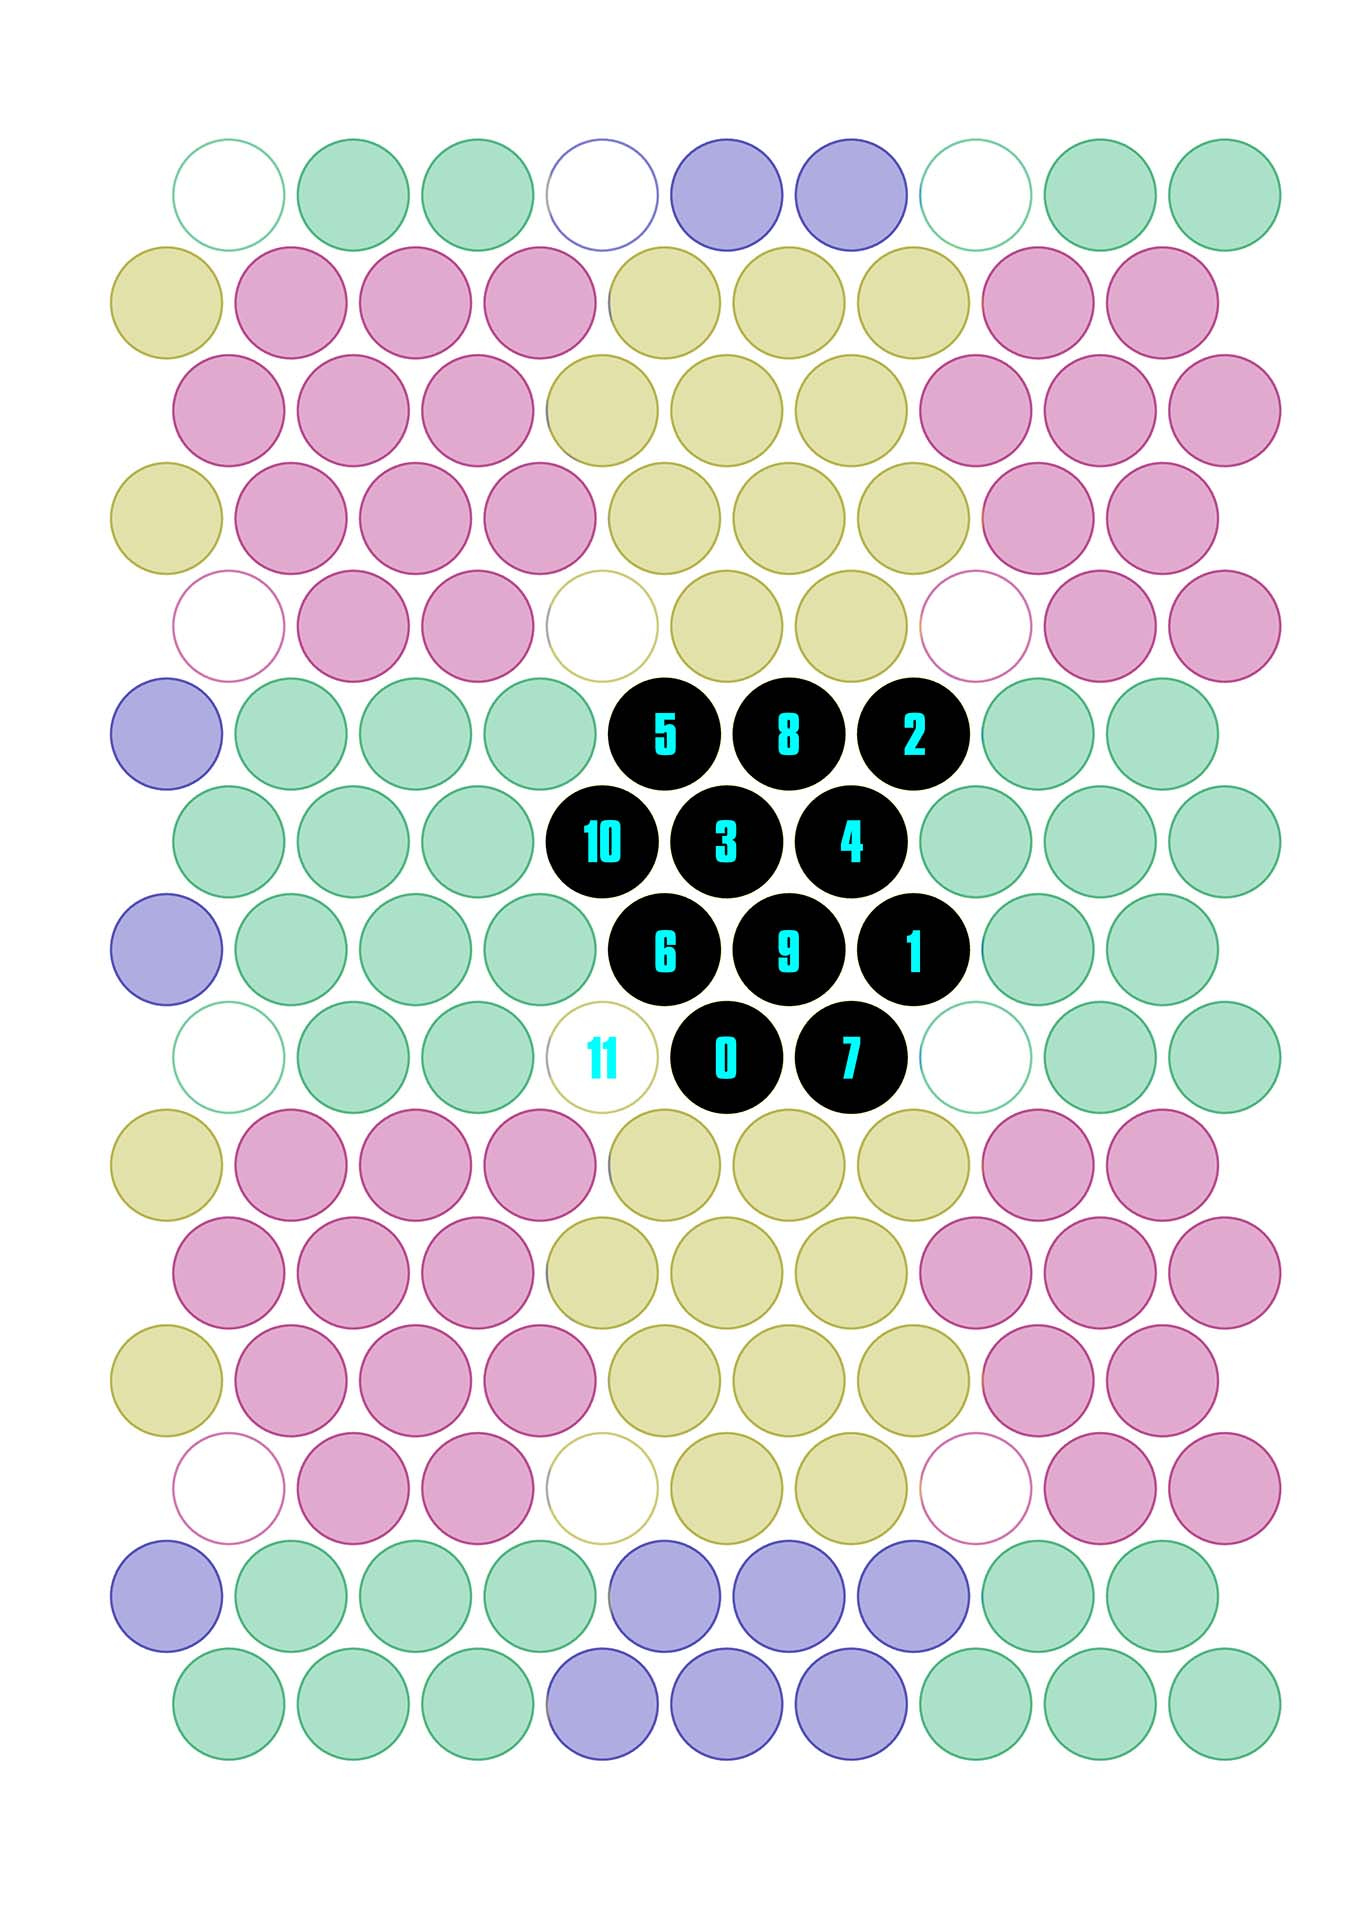
So what happens if we turn off dot number 11? We get this…
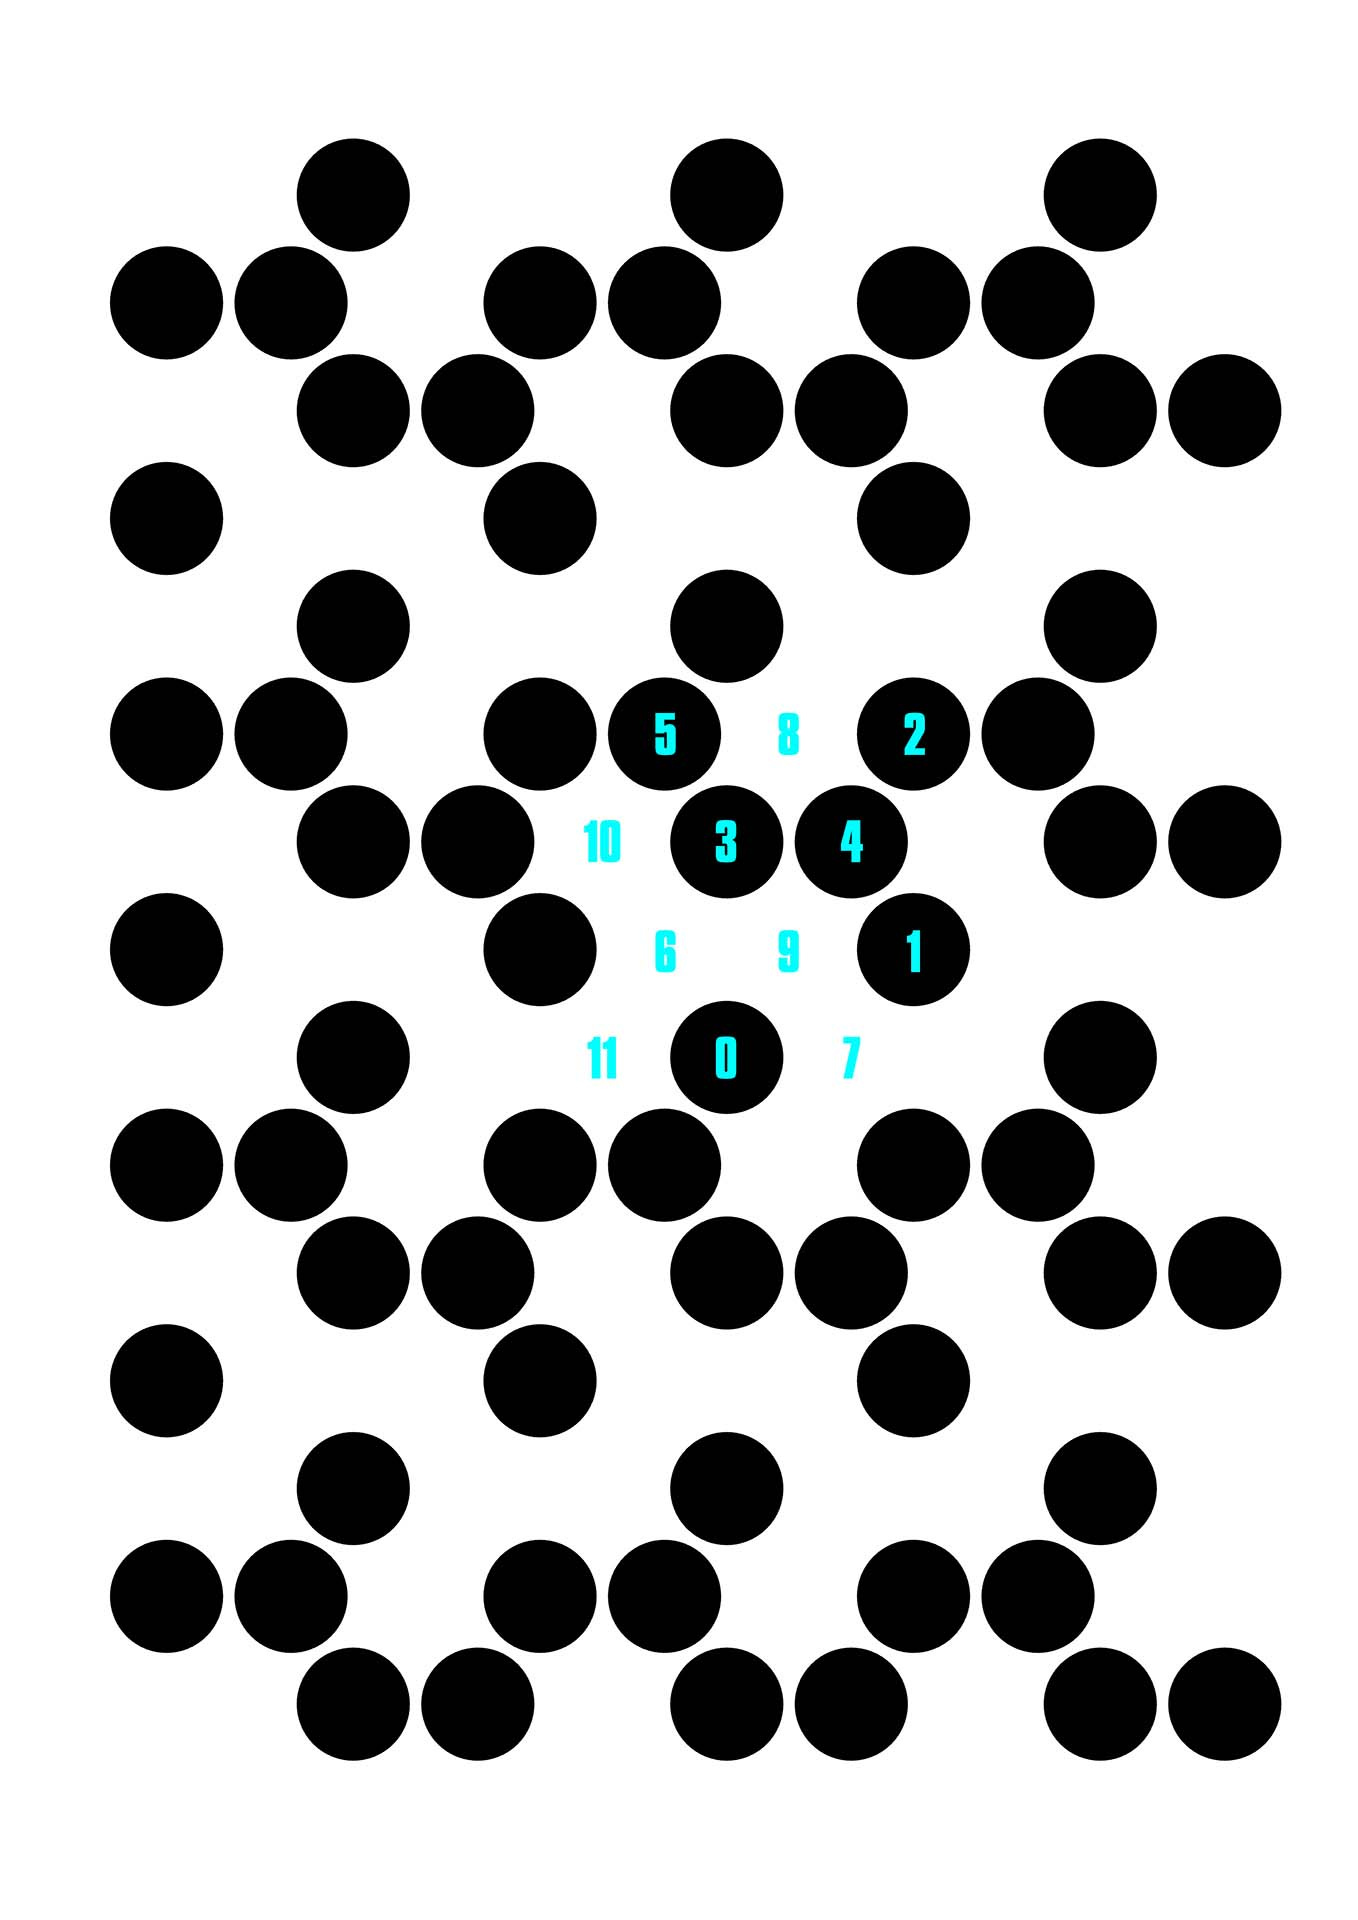
We’ll make it easier to see the whole pattern by turning all the dots to black, and switching half of them off.
The trick to shading is pretty simple. We take an image, turn it greyscale, and then at any particular point work out what the grey value is on a scale of 0-12.
12 is light (pure white), and 0 is dark (pure black).
Then we turn off any dots under that value. So if something is pure white (12), we turn off all the dots that are less than 12, i.e. all of them. If it’s black we turn off all the dots under 0; none of them.
If it’s light grey, say 9, we turn off all the dots under 9, leaving just the 9, 10 & 11 dots.
If it’s dark grey, 3, we turn off all the dots under 3, keeping all the dots numbered 3 to 11.
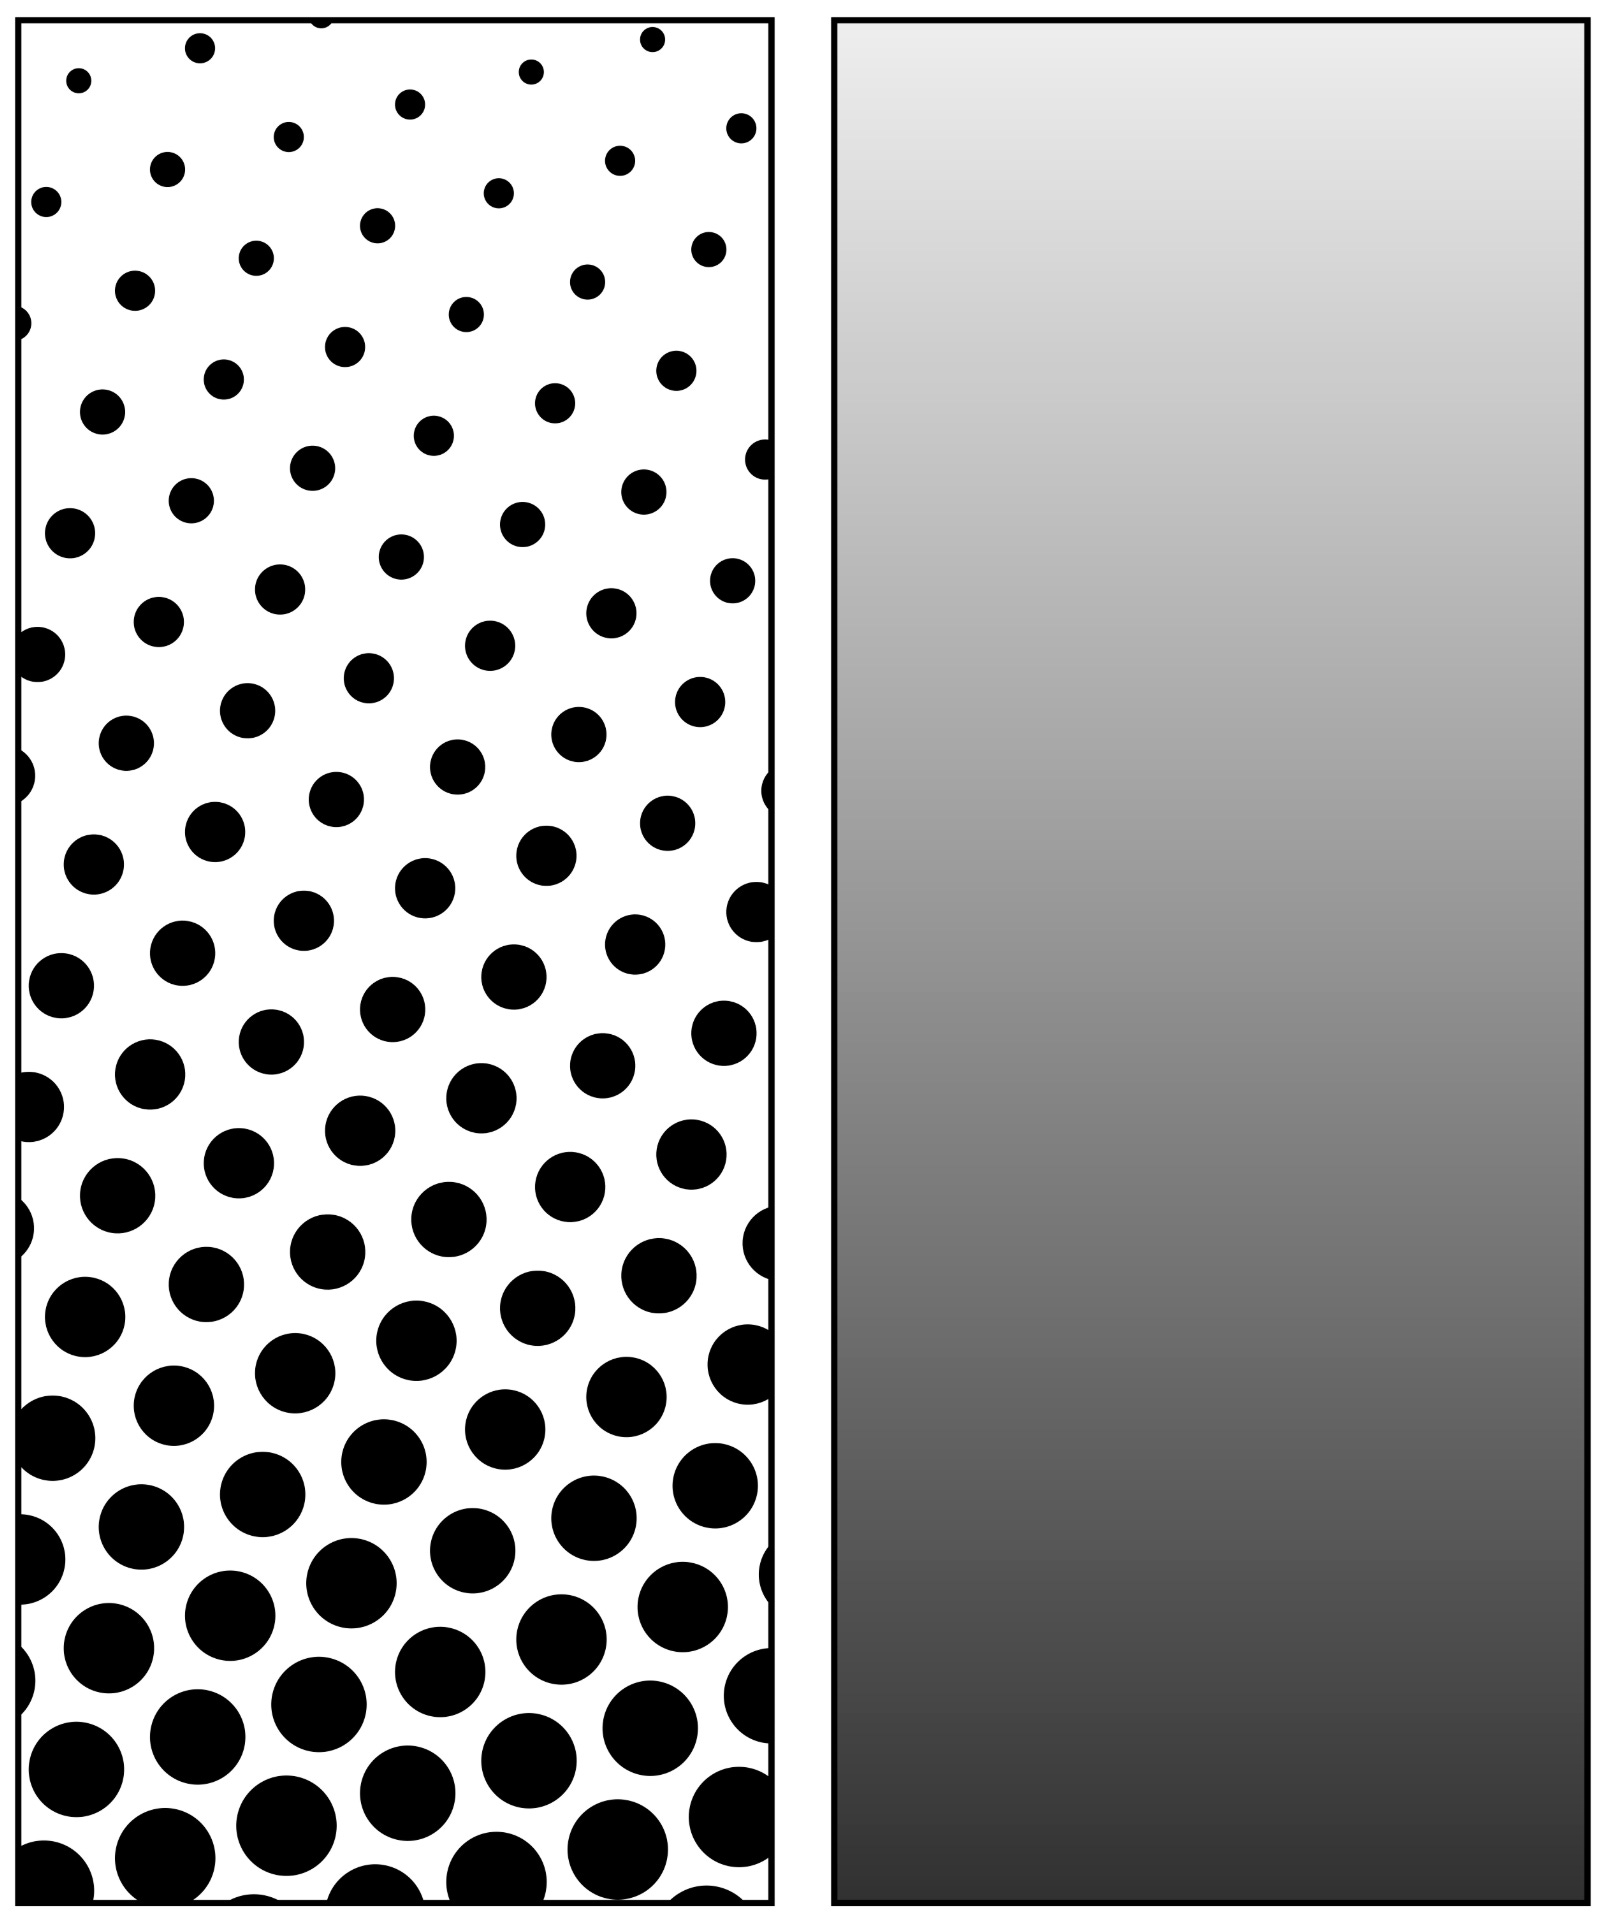
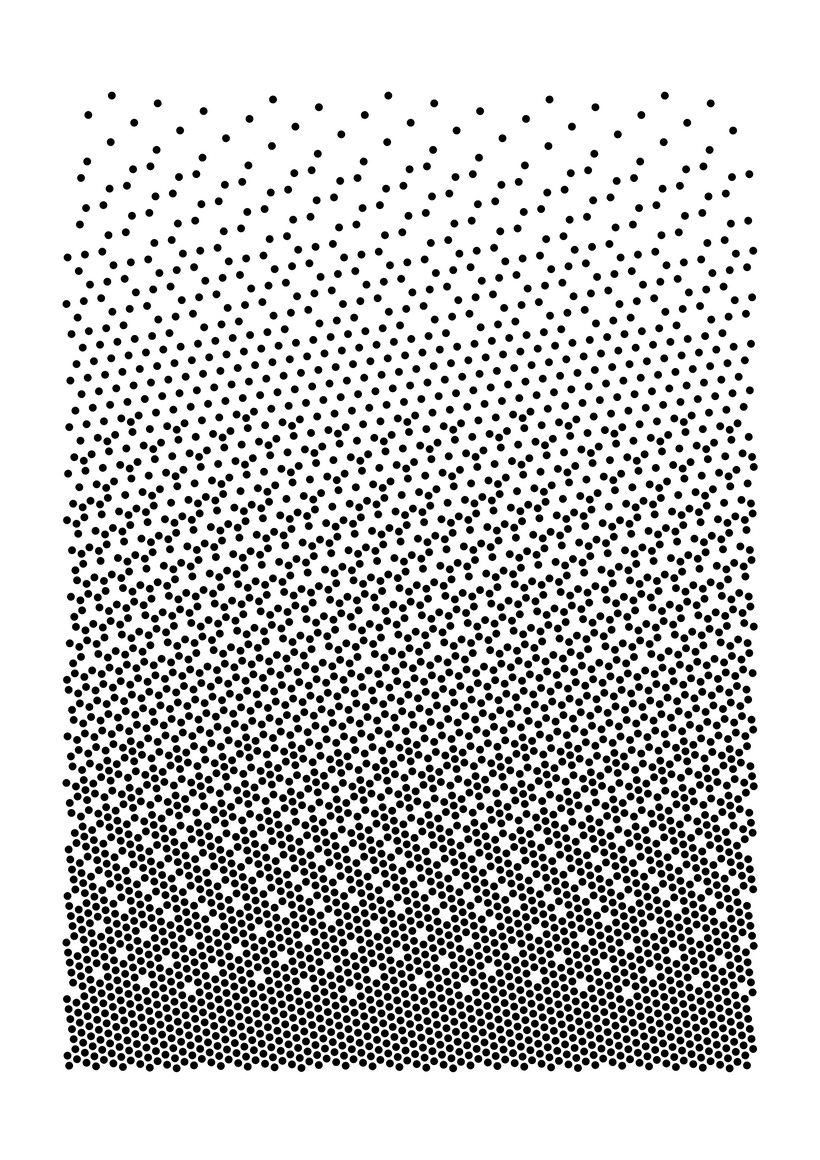
The dots are numbered in such a way that the pattern remains “interesting” as you remove dots. There’s better ways (the 10th and 11th dots are too closely aligned for my liking), but this is quick & dirty and good enough, shown below is a gradient of all 13 “shades”. Note: the “grid” is rotated about 40° counter-clockwise here.
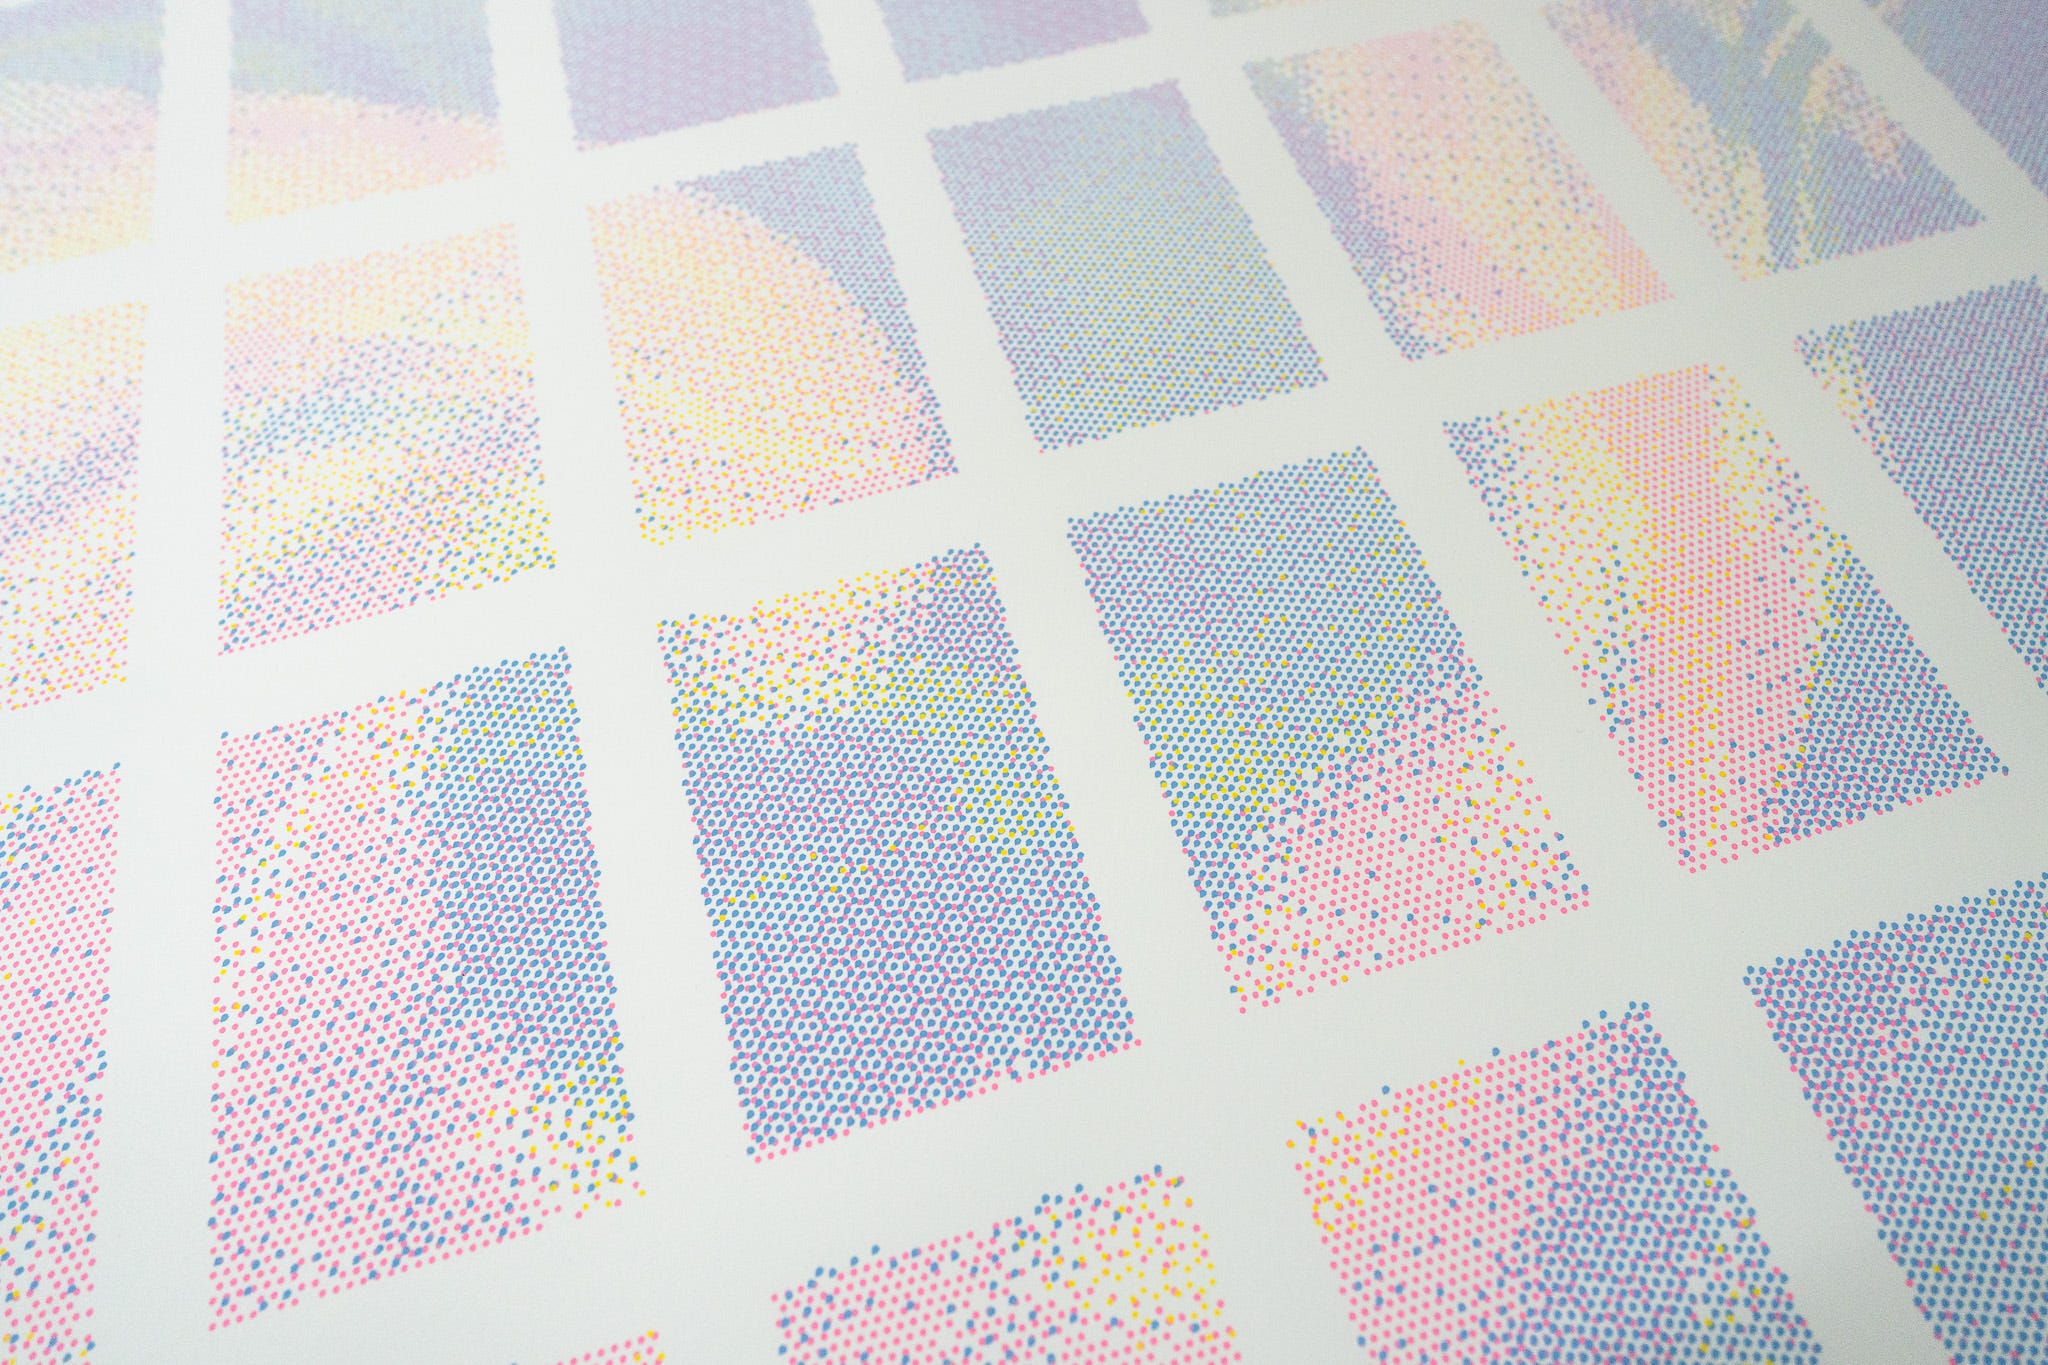
So now instead of getting a halftone effect by changing the size of the dot, we can use hex-dithering instead. If we take an original image and split it into separate CMYK channels, convert each channel to greyscale, then plot using a different rotation angle for each layer, we get something like this (I threw the black channel away)…

While writing this newsletter I found this set of posts about applying error diffusion to a hex grid: https://loomsci.wordpress.com/tag/error-diffusion/ - which is probably the closest to this, as they’re using hexagon “pixels” of a set size, so they can only vary colour (and in some experiments shade).
This paper also uses error diffusion on a hexagonal grid.
I can see this was posted back in 2019 which at least has the tag ‘penplot’ and mentions pens and dots, but I don’t see any actual pen plots done with it.
So I’m going to go out on a limb here and suggest this is the world’s first hexagonal order dithering with a threshold map of 12 levels, multi-coloured pen plot. It doesn’t take much to be the world’s first at something, you just need to narrow the criteria down a lot 😁
📬 These postcards will be going out to Patreon members at the postcard level an above next Wednesday, just saying.
# THE END
I’ve run out of bytes, time to go!
Next newsletter will be Thursday the 25th of December, WTF?!
Love you all
Dan
🧡
I like when I have a sense of an entire landscape I am only getting a glimpse of, that invitation to explore, the path that turns ahead, the fragment of a vista through a window. Analogous to that I like interviews and writing where there is obviously more depth and breadth beyond what I understand, but which in which the subject or speaker is fully immersed and their absorption of it and in it is apparent. It's as enticing to me as a whiff of a scent, like fresh bread nearby and looking for the bakery that must be right here somewhere. And I laugh at the silly little things all our minds do like writing "breadth" and imagining the scent of bread.
Thank you for that lovely video link and for your art and your writing.